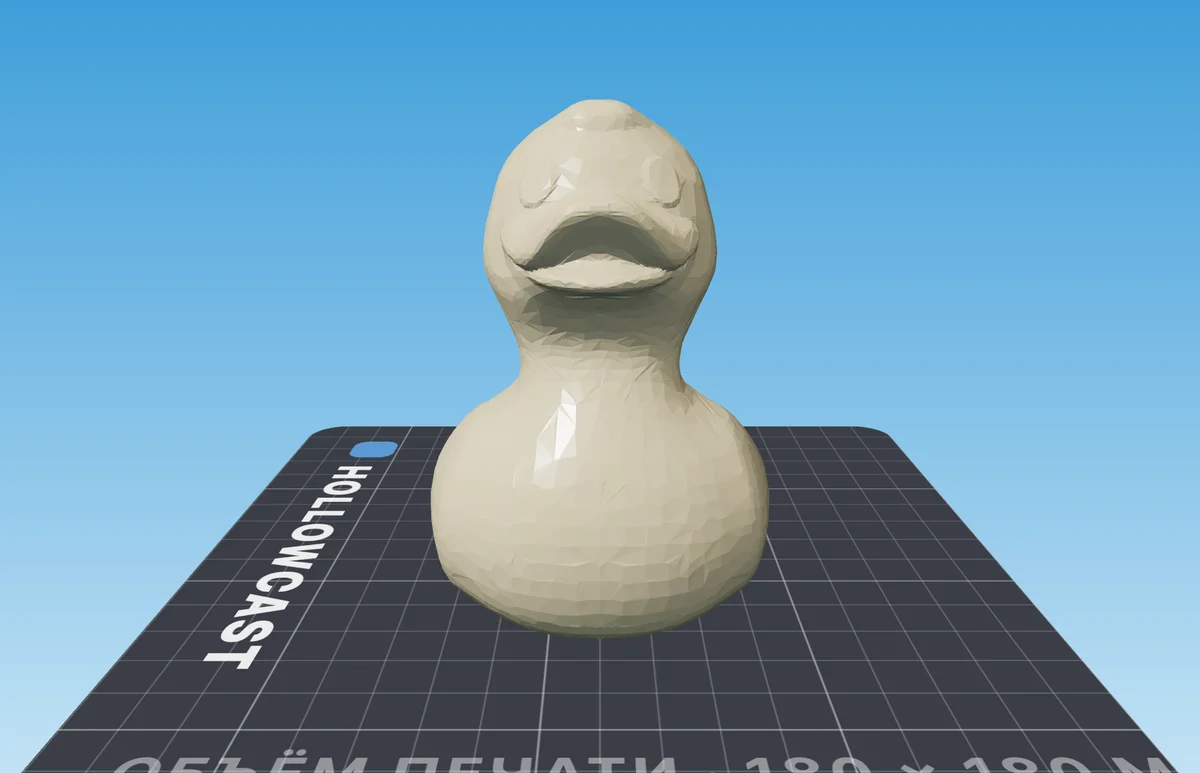
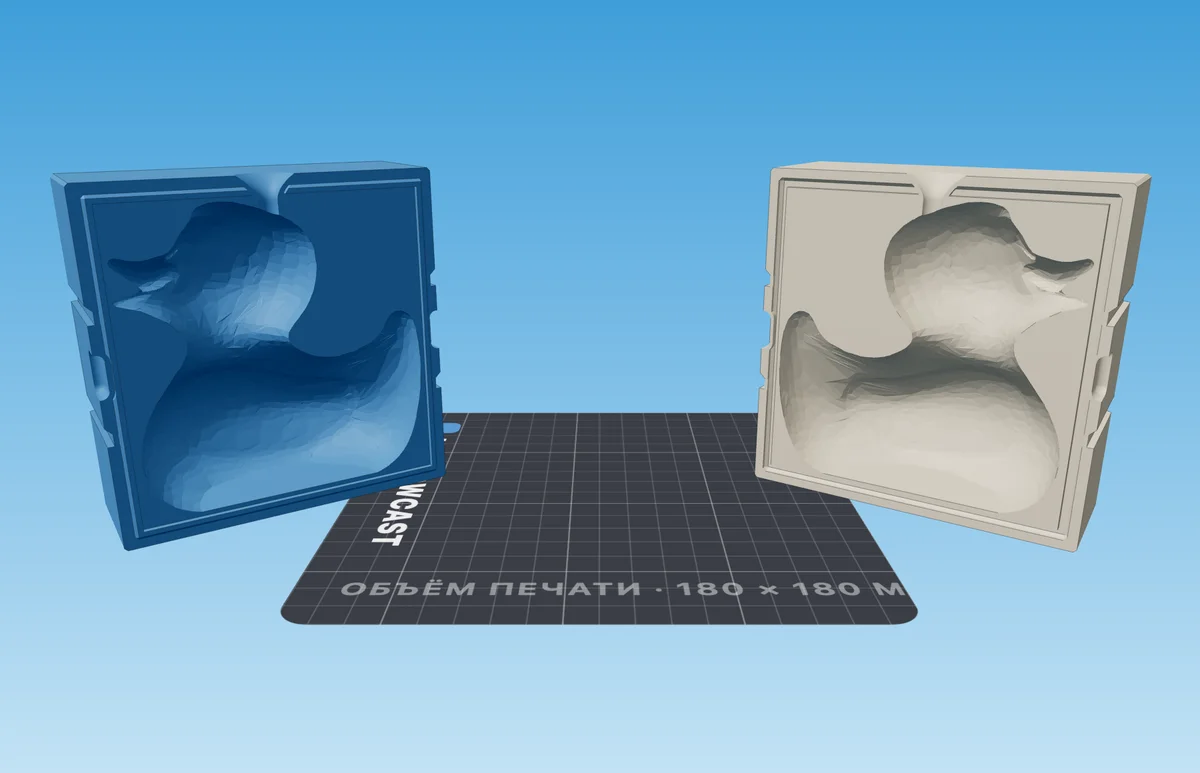
A plastic mold is a rigid printed shell in two or three parts. The cavity follows the model, and you pour straight into it, no silicone.
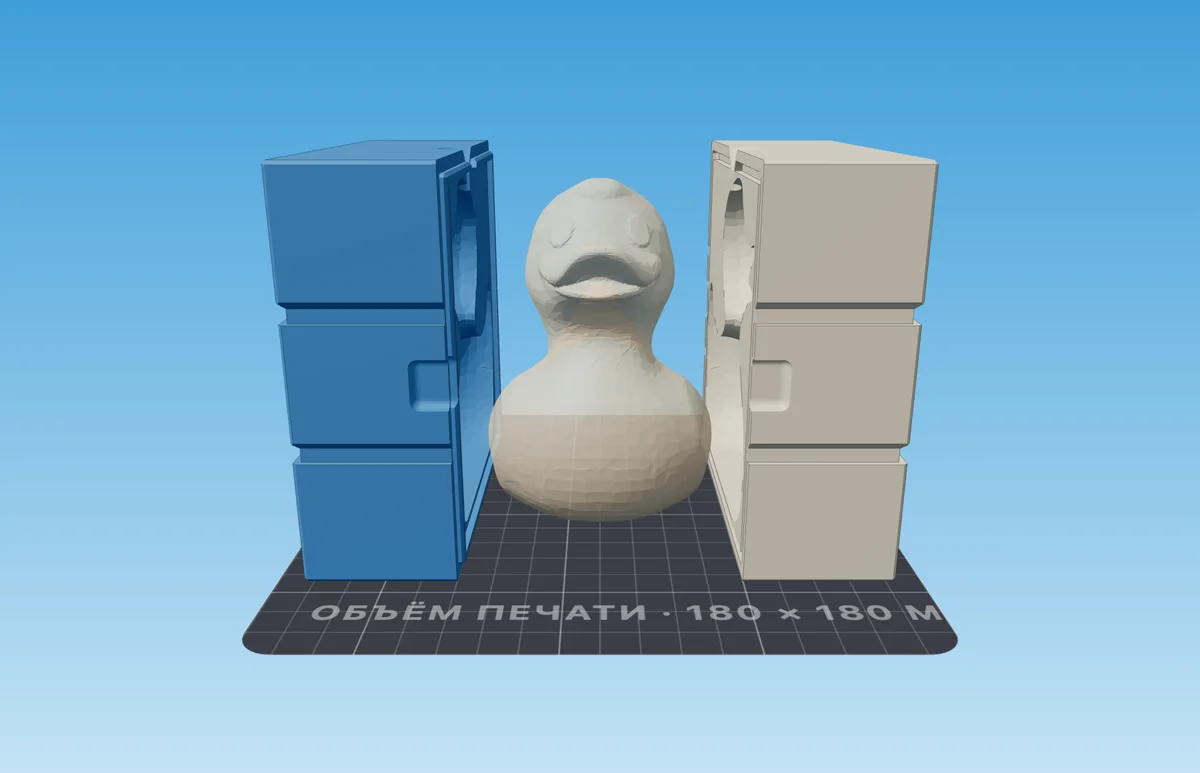
- 1Mold halves
- 2The model — the cavity takes its shape
At a glance
| What | How |
|---|---|
| Good for | A candle, soap, a plaster or concrete figurine |
| What to print | The mold halves; optionally a funnel and a wick holder |
| You will need | Rubber bands for the grooves, release agent, the casting material |
| Pours | One — straight into the printed mold |
Will your model work
| Model | Works? | Why |
|---|---|---|
| A candle, a figurine | Yes | The seam plane splits it into two halves |
| A hook or a bump across the seam | No | The bump locks into a half — use three parts or a silicone mold |
| Not closed, with holes | No | Repair the model first |
To get the files for printing:
Load the model
Drop an STL, OBJ or 3MF into the window. To try it out, load the example — a duck.

- 1The loaded file — “Replace” to pick another
- 2An example, if you don't have a model yet
Move the seam off the face and put the funnel on top
The transparent plane in the view is the seam between the halves. Rotate the model, not the plane, so the seam doesn't cross the face. The funnel is the pour channel: it must sit on the highest point, or air stays trapped under the top.
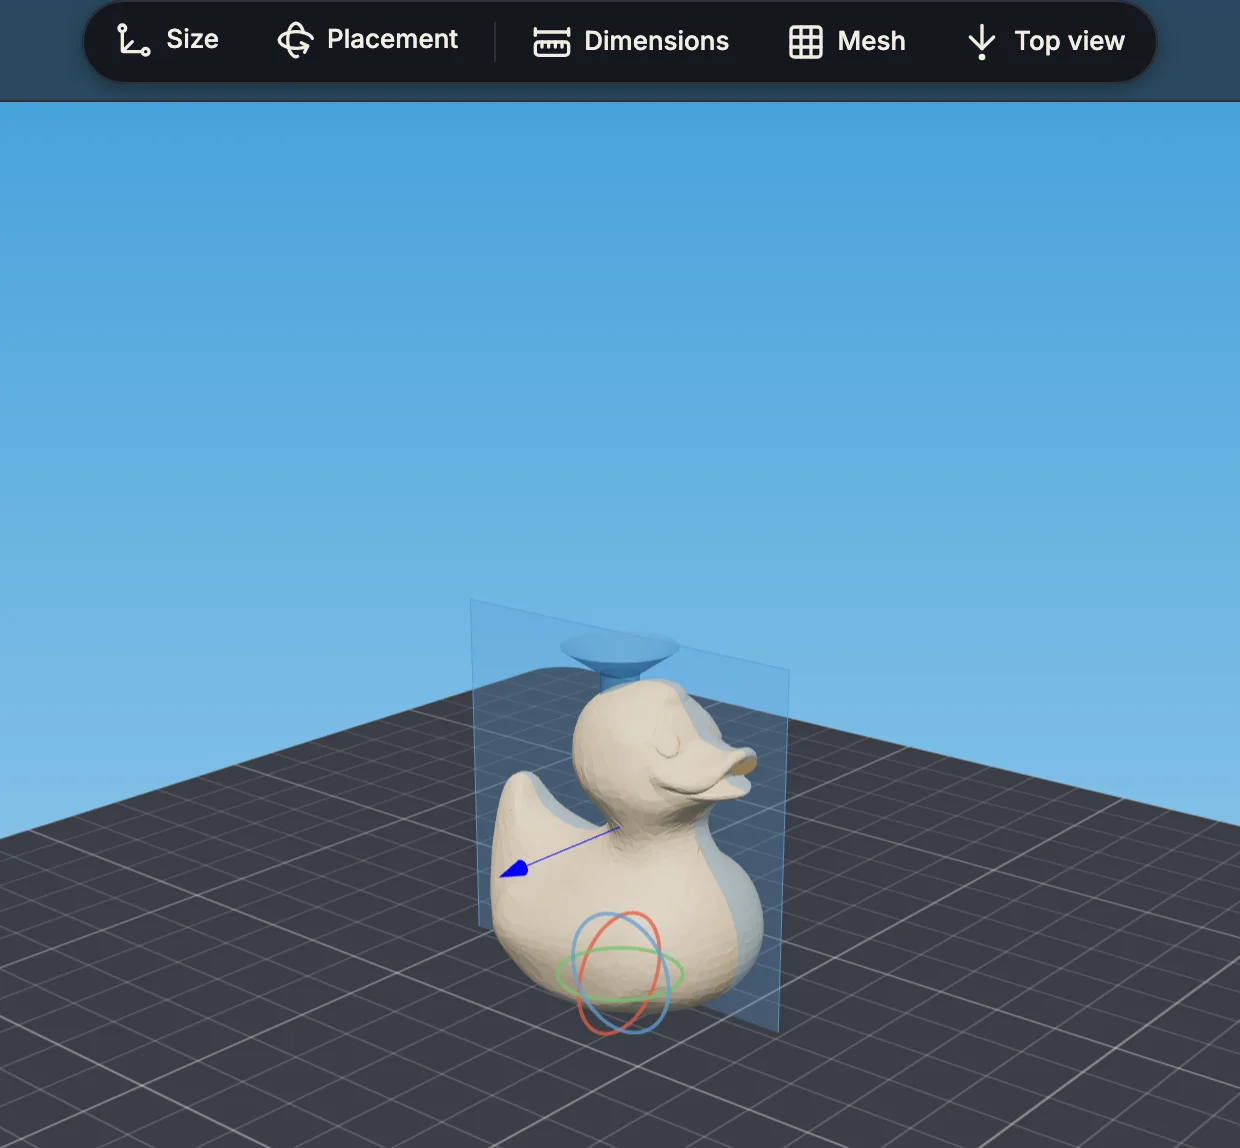
- 1“Placement” — rotate the model
- 2Seam plane
- 3Funnel — above the top
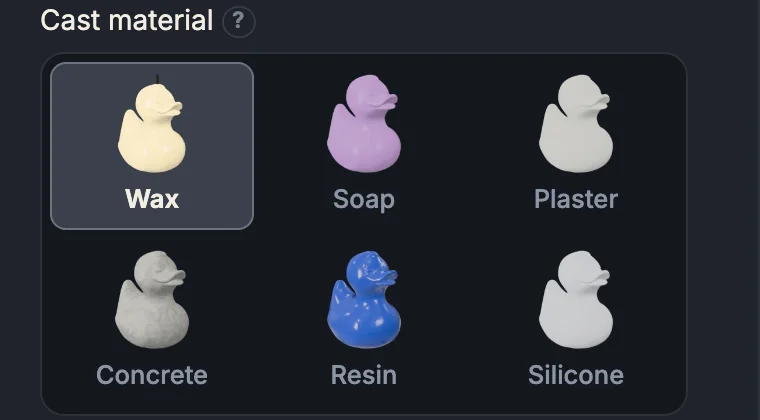
Pick the cast material
The choice sets the shrinkage allowance for that material, and the pour weight above the view is counted for it too.
Click “Generate the mold”
The build runs on the server and takes from a few seconds to a minute.

Check the result
Above the view: how much material one casting takes.

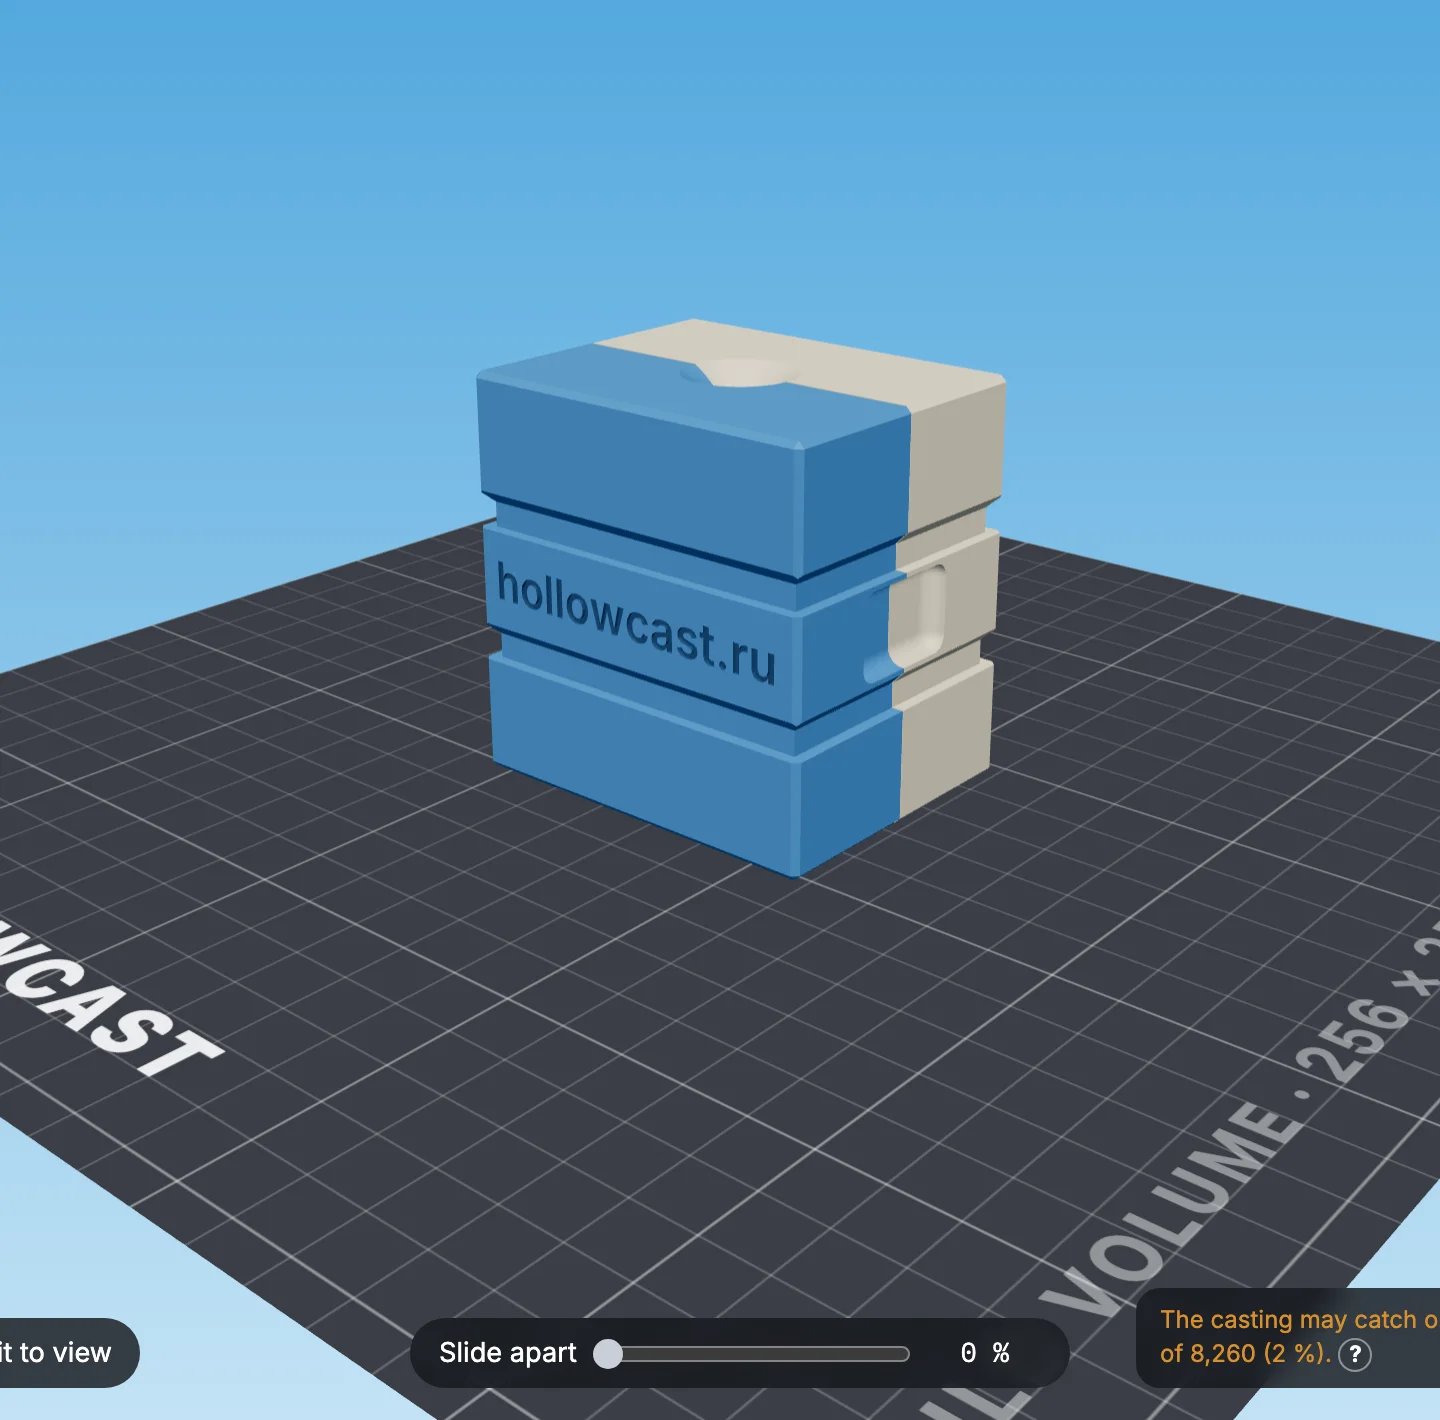
- 1The mold, assembled
- 2“Slide apart” — separate the halves and look into the cavity
Download the files
STL — a file per part. 3MF — one project for the slicer. The archive includes
print-settings.txtwith the pour weight.
Print the parts the way they lie in the file — don't rotate them. Turn supports on — tree supports.
| Part | Orientation | Layer | Perimeters | Supports |
|---|---|---|---|---|
| Mold halves | As in the file | 0.08 mm — the cavity becomes the casting | 3 | Tree, slim, from the build plate only |
| Funnel, wick holder, bottom | As in the file | 0.20 mm | 3 | Tree, slim, from the build plate only |
Every slicer setting for the mold and the tooling
To cast a copy:
Assemble the mold
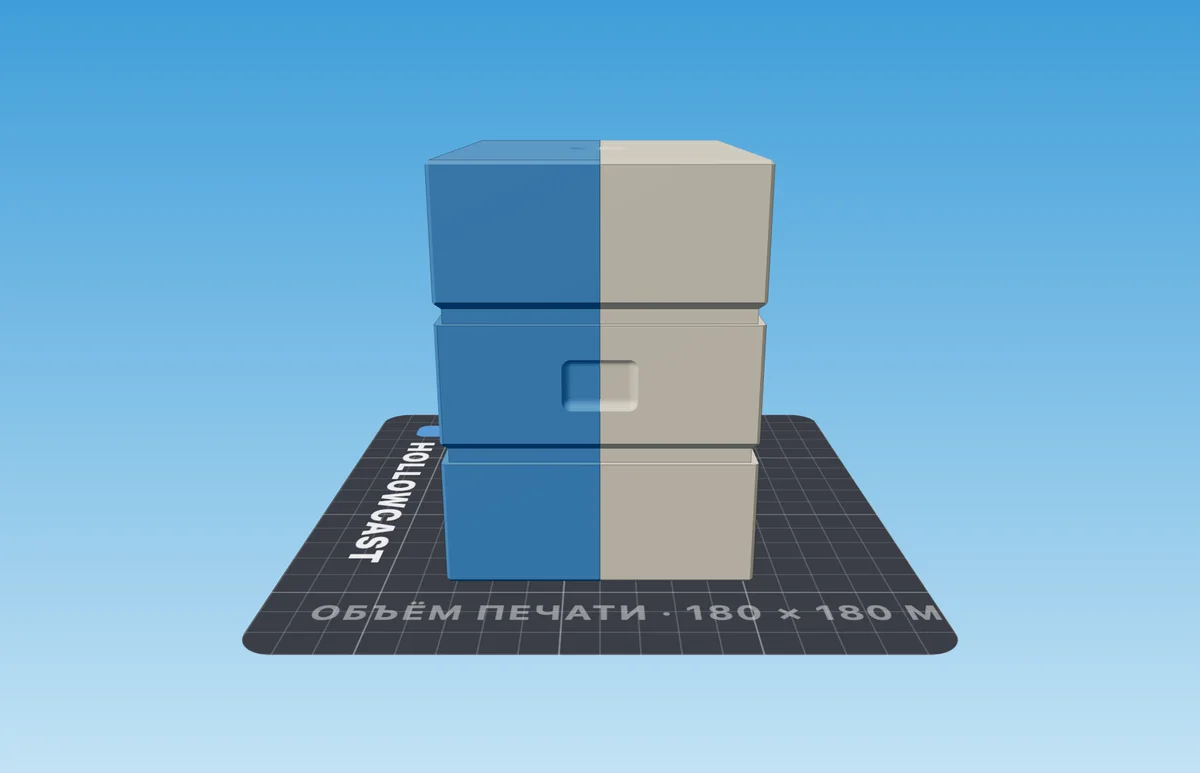
Coat the cavity with release agent. Put the halves together on the lock and slip rubber bands into the grooves outside. For a candle, thread the wick and fix it with the holder on the mouth.
Pour through the funnel
Pour a thin stream until the material reaches the rim of the funnel. Details for each material are in the pouring guide.
Demold
Once it sets: take off the rubber bands and pull the halves apart by the notches on the sides. Cut off the sprue.