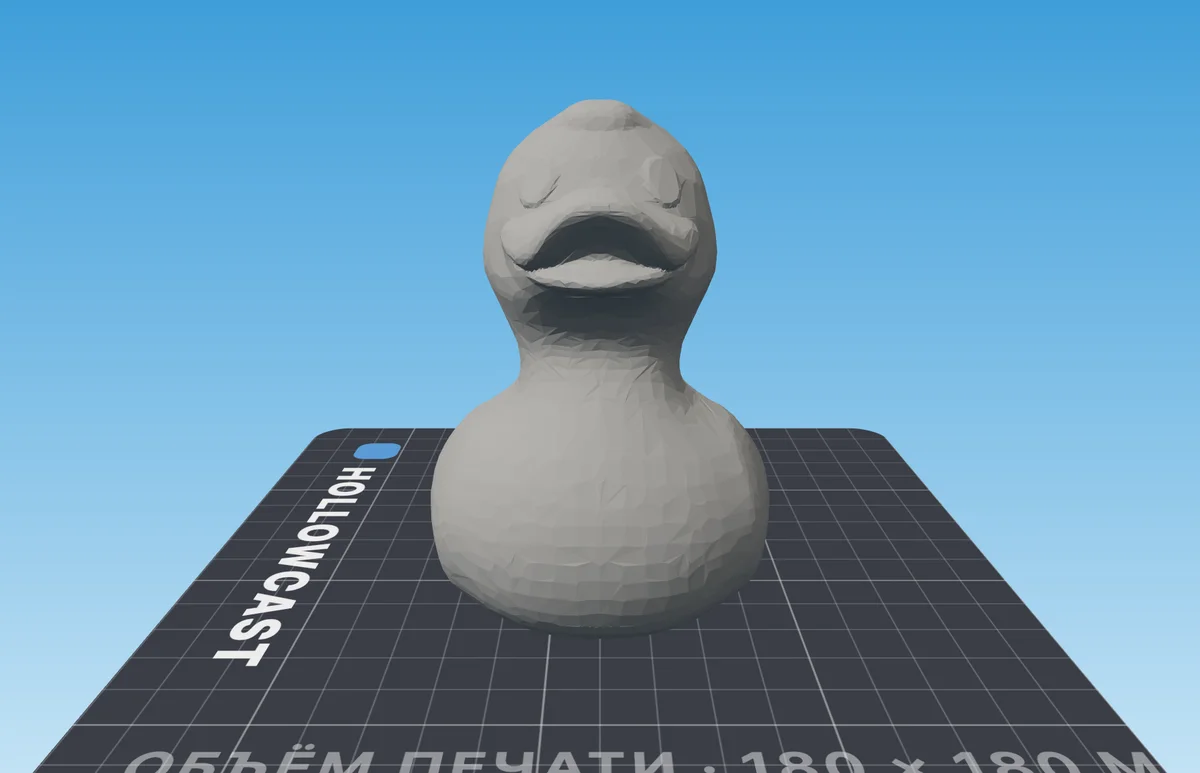
A form-fitting mold is a thin layer of silicone around the model. You pour it into printed formwork, and later the same formwork holds the mold while you pour the casting.
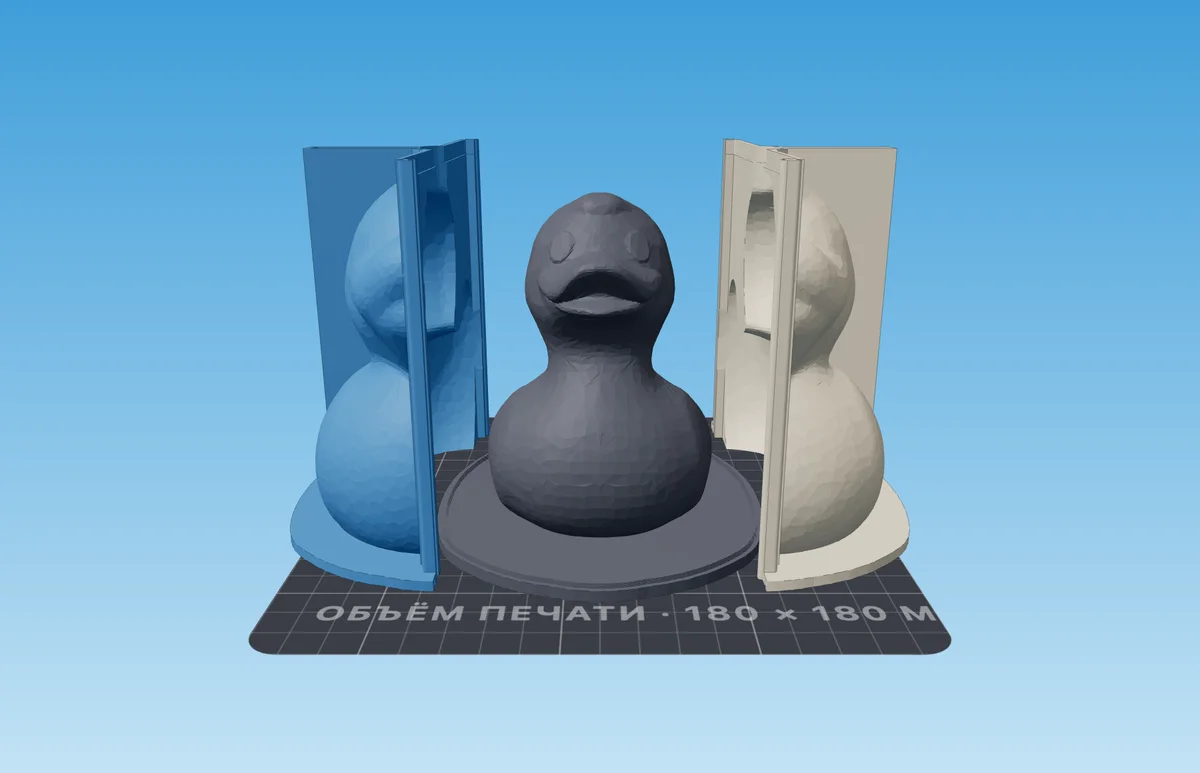
- 1Formwork parts, 2–4 of them
- 2Base with the model: the model is printed together with the plate
At a glance
| What | How |
|---|---|
| Good for | A keychain, pendant, badge or figurine, 20–60 mm |
| What to print | Formwork parts, the base with the model, clamps |
| Silicone layer | 6 mm by default, 1 to 10 |
| You will need | Mold-making silicone, release agent, scales, a cup and a stick for mixing |
| Pours | Two: first silicone into the formwork, then the casting into the silicone |
Will your model work
| Model | Works? | Why |
|---|---|---|
| Figurine that narrows upward | Yes | The mold comes off downward through the opening under the base |
| Keychain, pendant, badge | Yes | Small items are what this tool is for |
| On a narrow stem, or a ball | No | The bottom opening shrinks to a point — the mold can't come off without cutting |
| Larger than 60 mm | No | A thin layer tears under the casting's weight — use the silicone mold box |
| Hollow: a cup, a planter | No | The inside fills with a solid plug — use the vase mold |
To get the files for printing:
Load the model
Drop an STL, OBJ or 3MF into the window. To try it out, load the example — a duck.
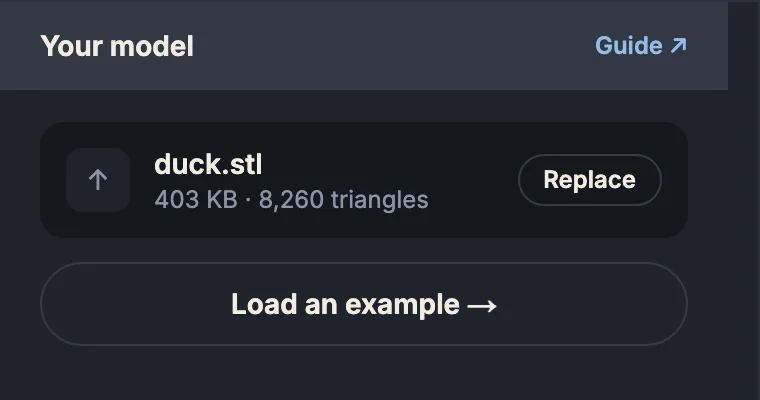
- 1The loaded file — “Replace” to pick another
- 2An example, if you don't have a model yet
Check how the model stands
The model should stand on its base on the bed. Where it touches the bed, the mold keeps an opening: the mold comes off the model through it, and later you pour the casting through it.
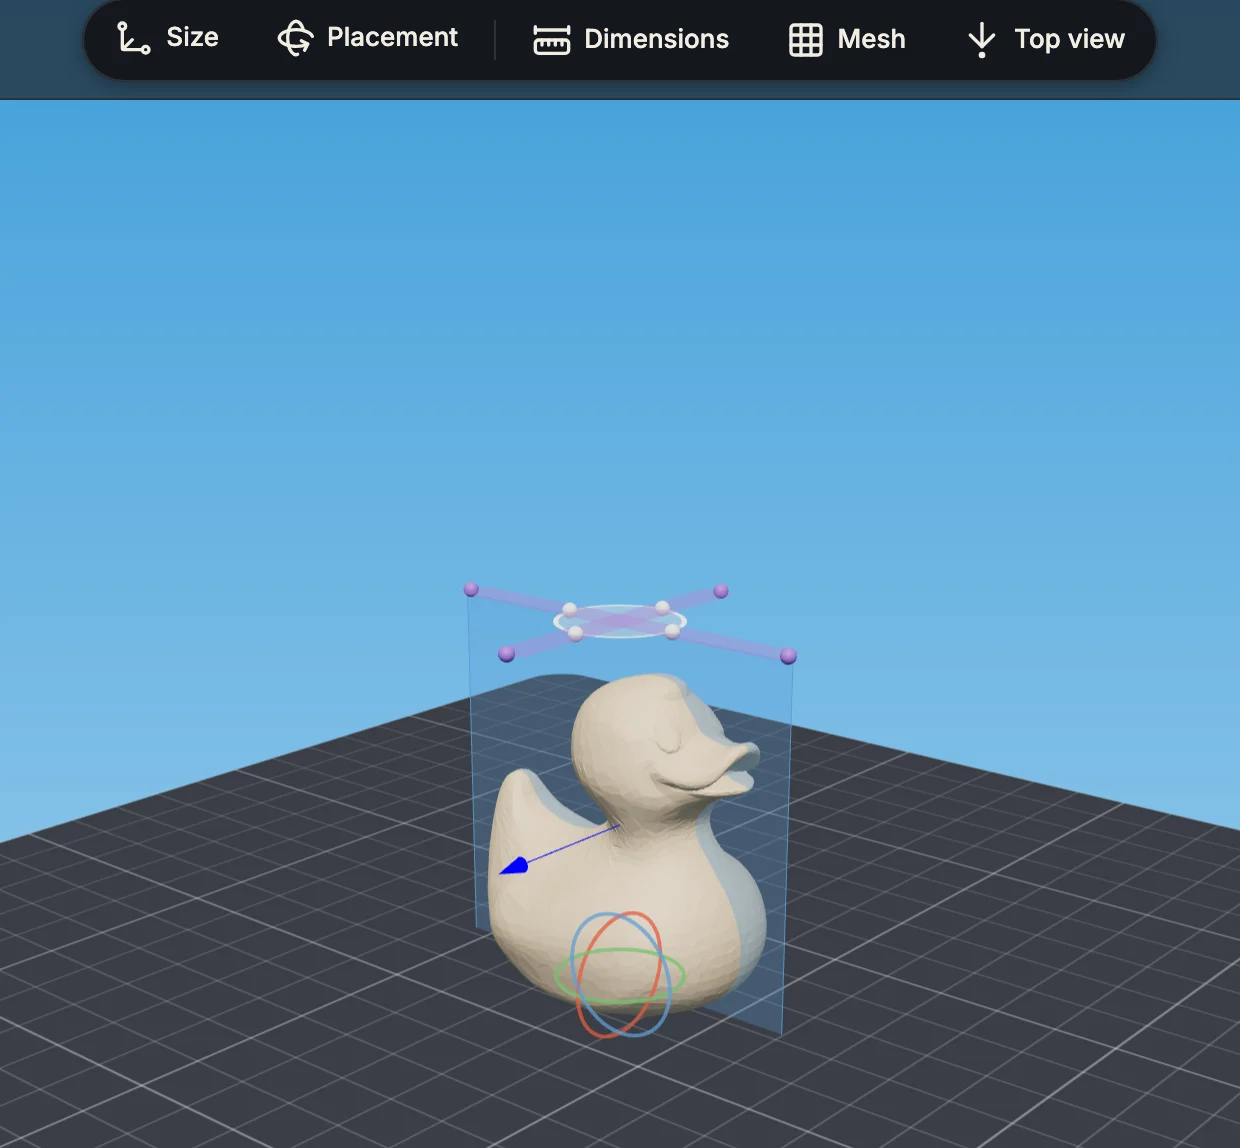
- 1“Placement” — if the model lies on its side
- 2Pour opening — above the top
- 3The model stands on its base
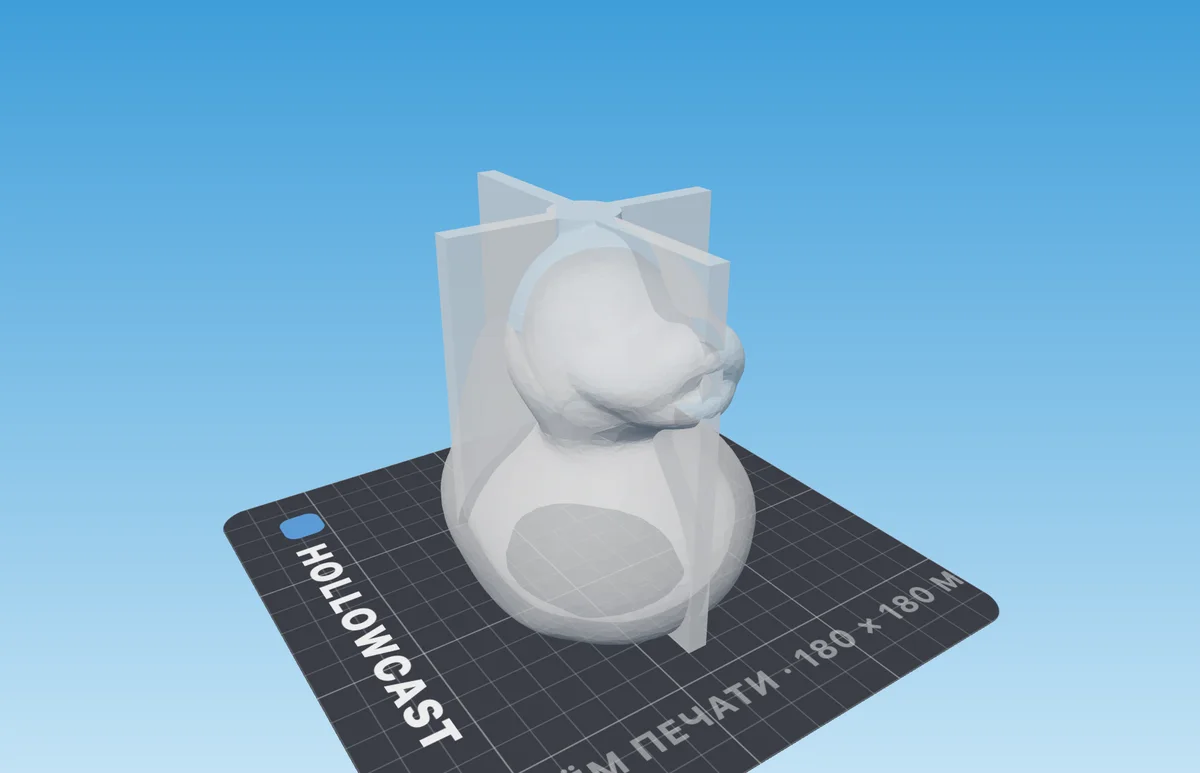
Place the opening and the fins
Click Top view. The white circle is the opening you pour the silicone through. The purple cross is the support fins: the mold stands on them when you flip it for the casting.
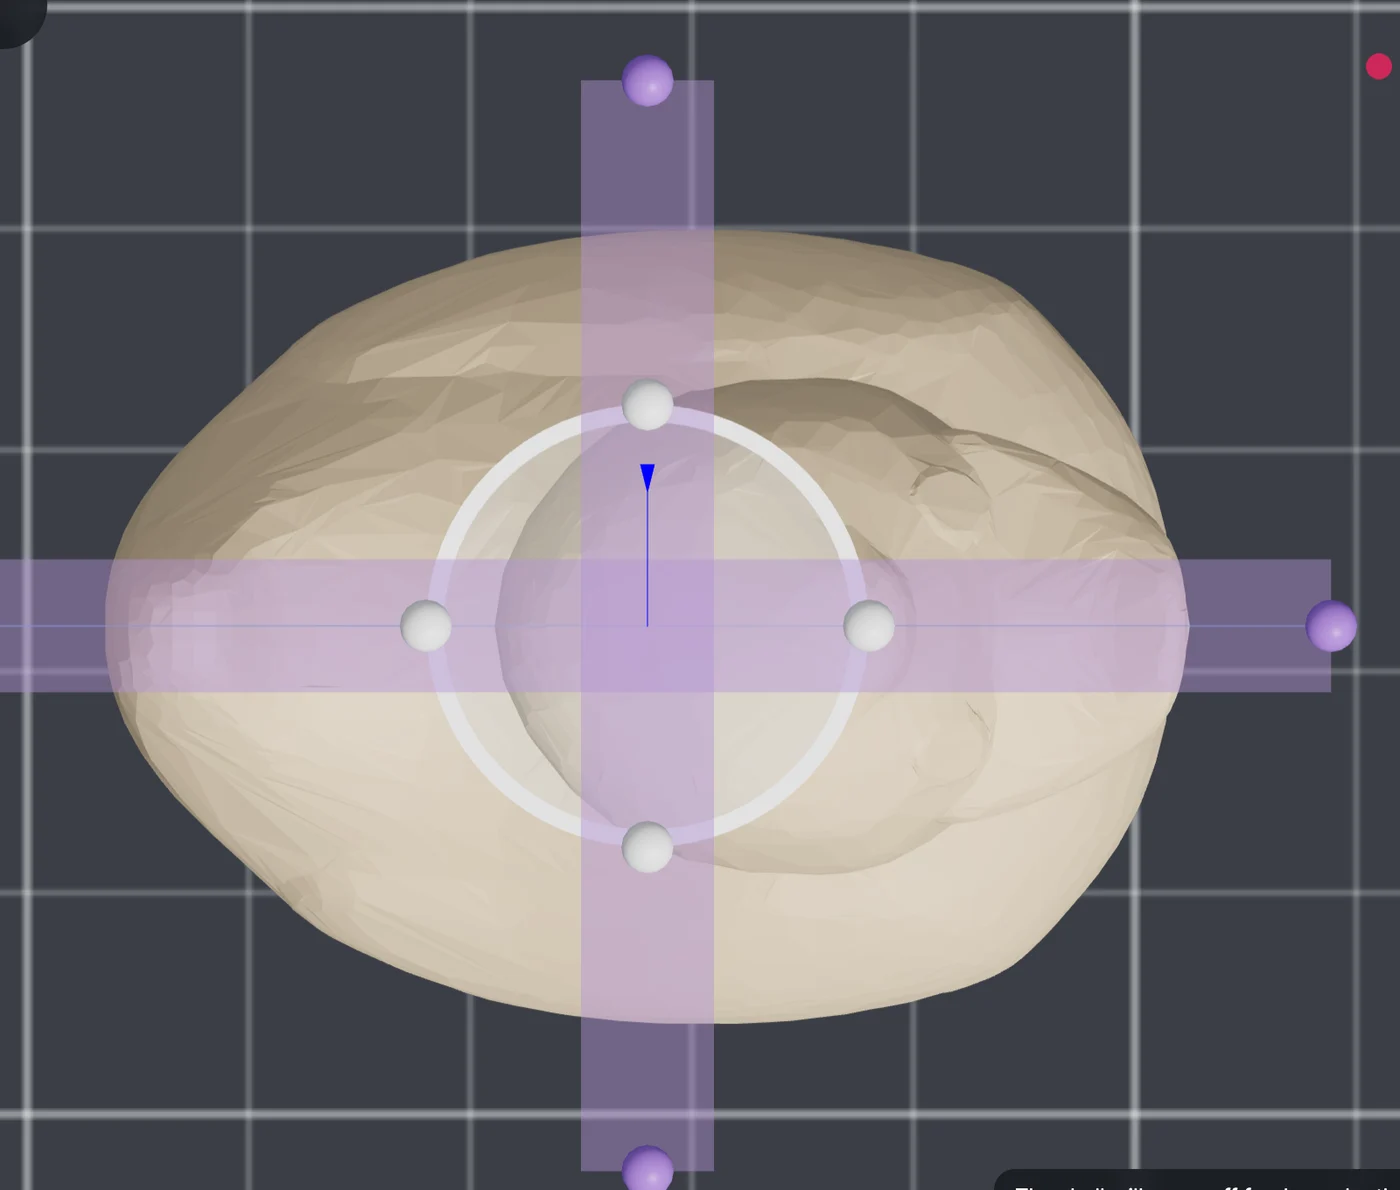
- 1White handles — stretch the opening; drag the middle to move it
- 2Purple handles — move the end of a fin
Click “Generate the shell”
The build runs on the server and takes from a few seconds to a minute.

Check the result
Above the view: how much silicone to mix. The second number is the amount for one casting in the material you picked.

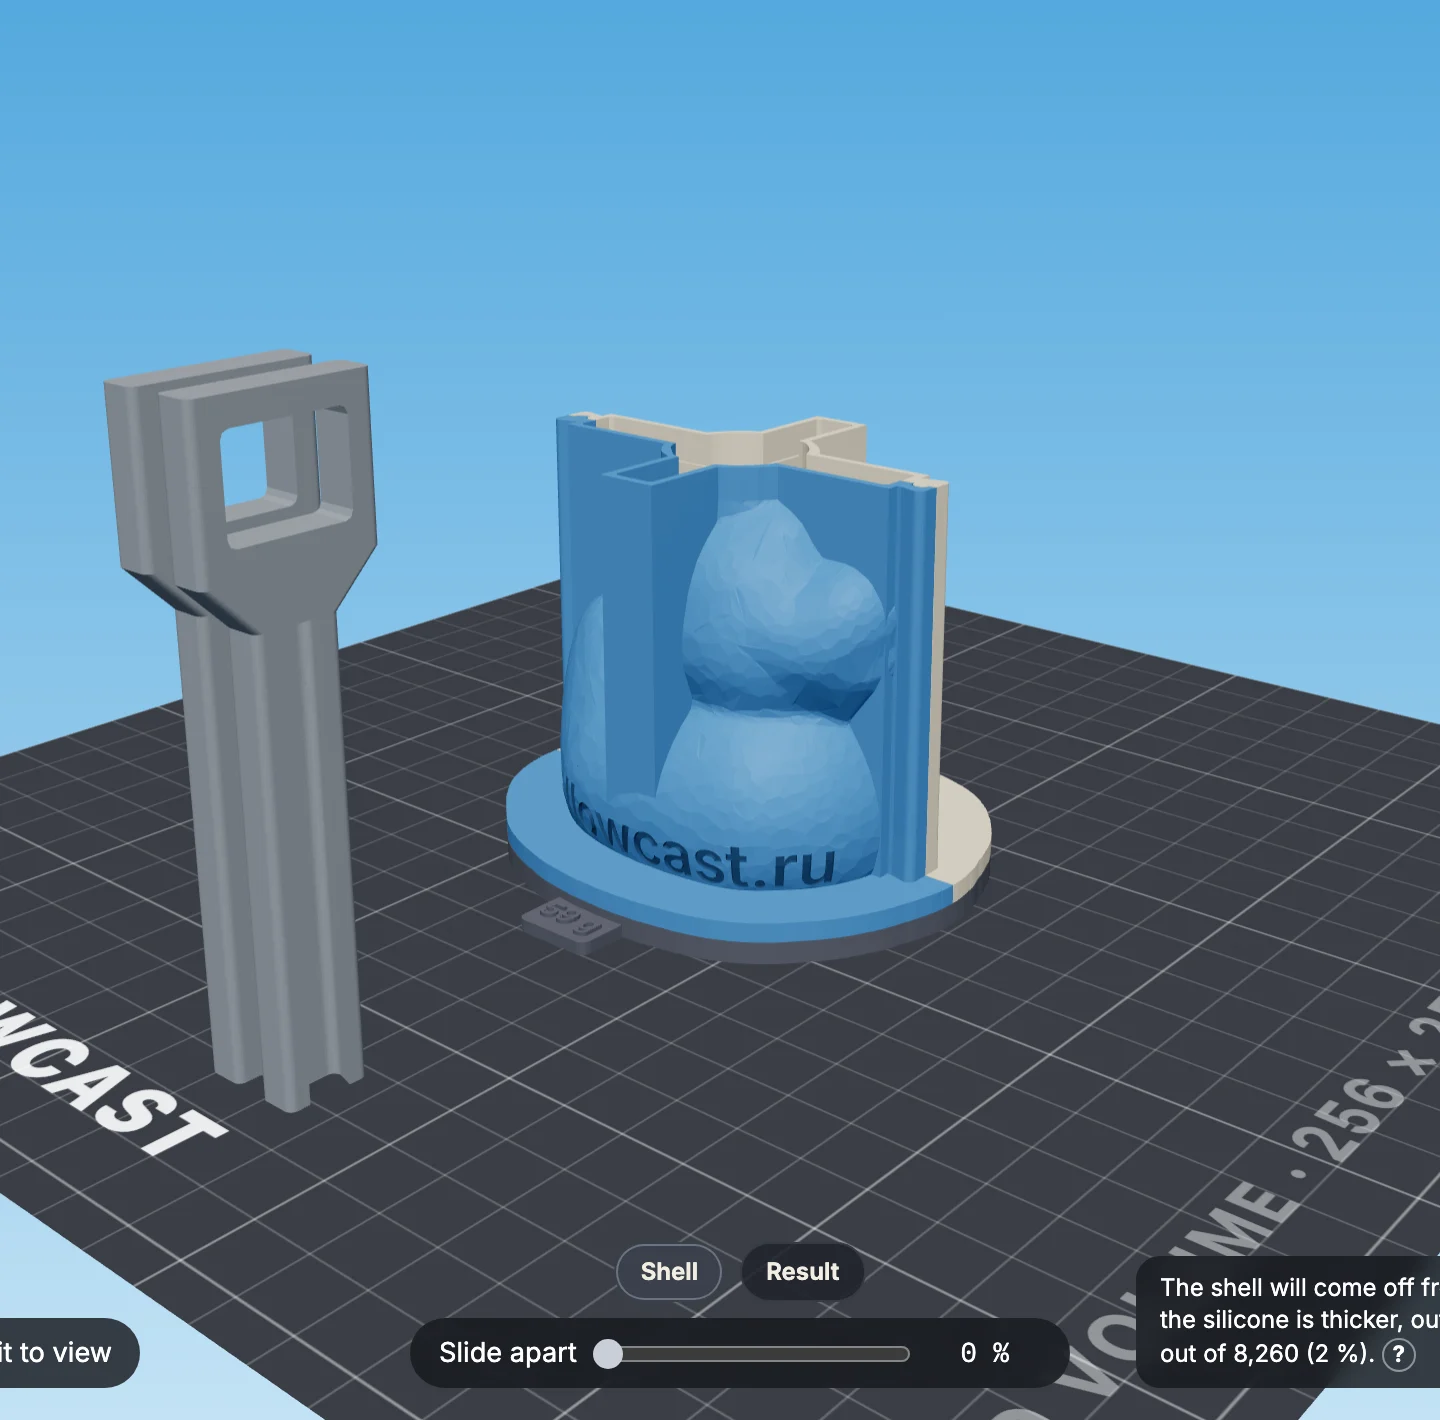
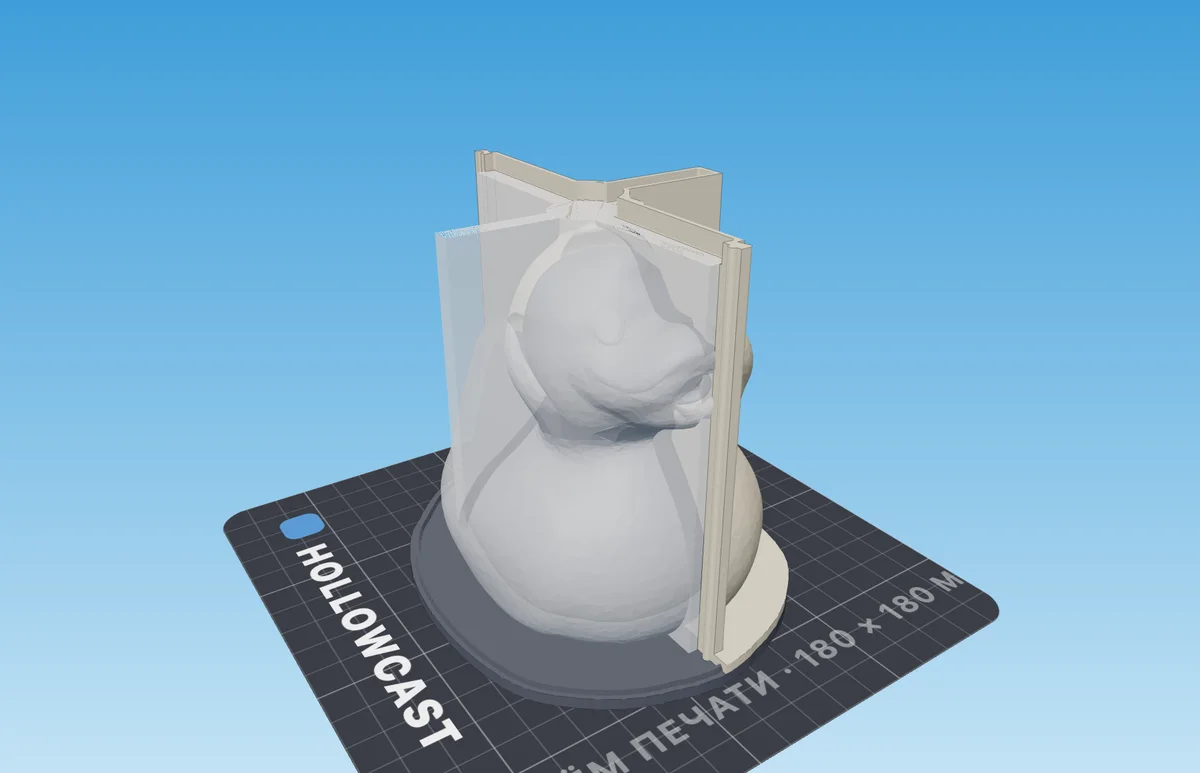
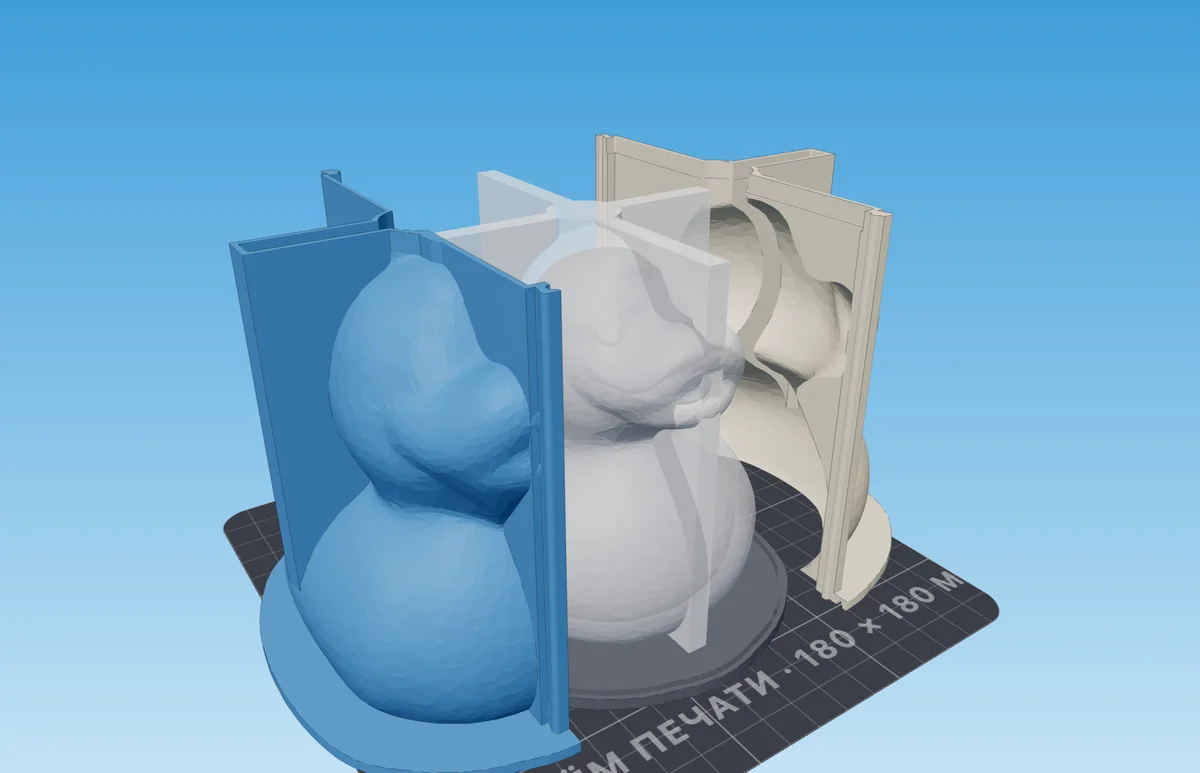
- 1The formwork, assembled
- 2Clamps
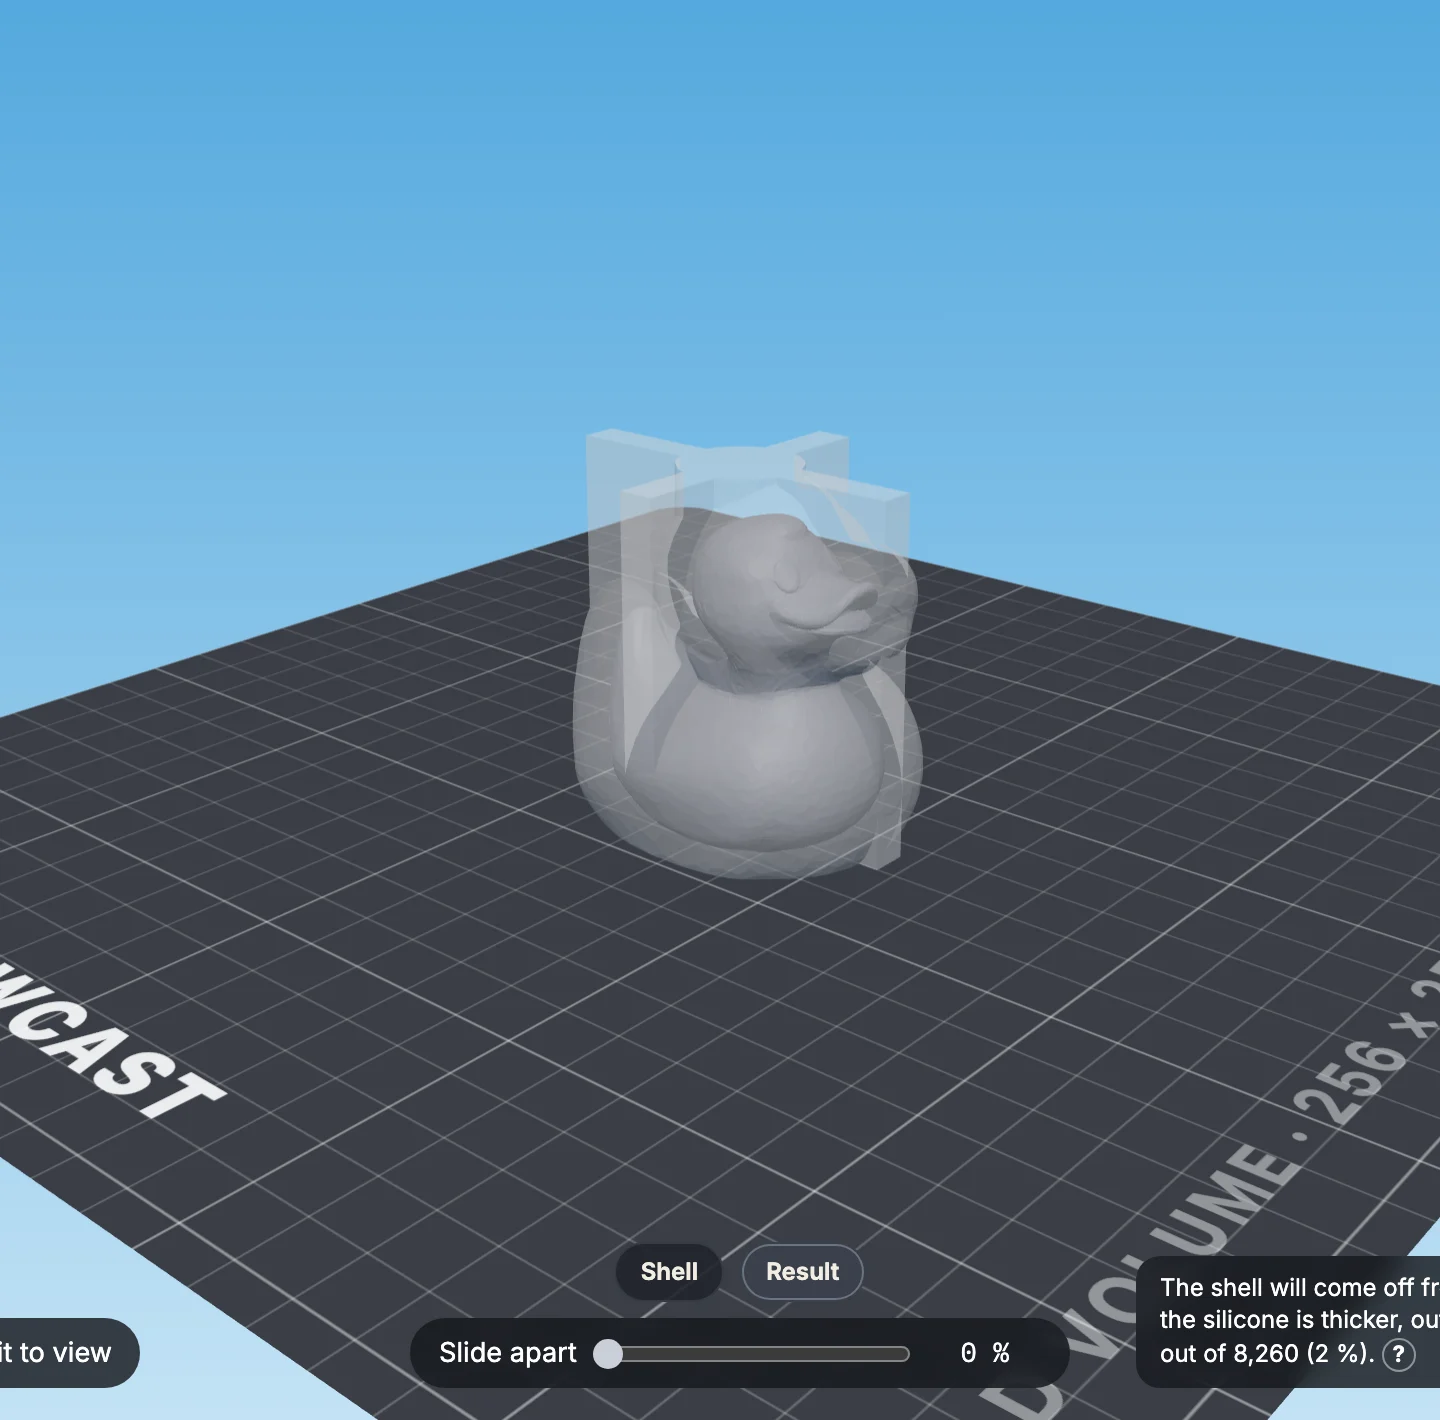
- 3“Result” — the silicone mold you'll get
- 4“Slide apart” — separate the parts
The Result tab shows the silicone mold itself with the model inside.
Download the files
STL — a file per part. 3MF — one project for the slicer. The archive includes
print-settings.txtwith the pour weight.
Print the parts the way they lie in the file — don't rotate them. Turn supports on — tree supports.
- 1Formwork parts — upright, as in the file
- 2Base with the model — flat
| Part | Orientation | Layer | Perimeters | Supports |
|---|---|---|---|---|
| Base with the model | Flat | 0.08 mm — every casting copies its surface | 3 | Tree, strong |
| Formwork parts | Upright | 0.20 mm | 3 — otherwise silicone seeps through | Tree, slim, from the build plate only |
| Clamps | As in the file | 0.20 mm | 3 | Tree, slim, from the build plate only |
All slicer settings for the model and the tooling
To cast the silicone mold:
Assemble the formwork
Coat the model and the inner walls with release agent. Set the parts around the base, rail to rail, and push the clamps onto the rails all the way.
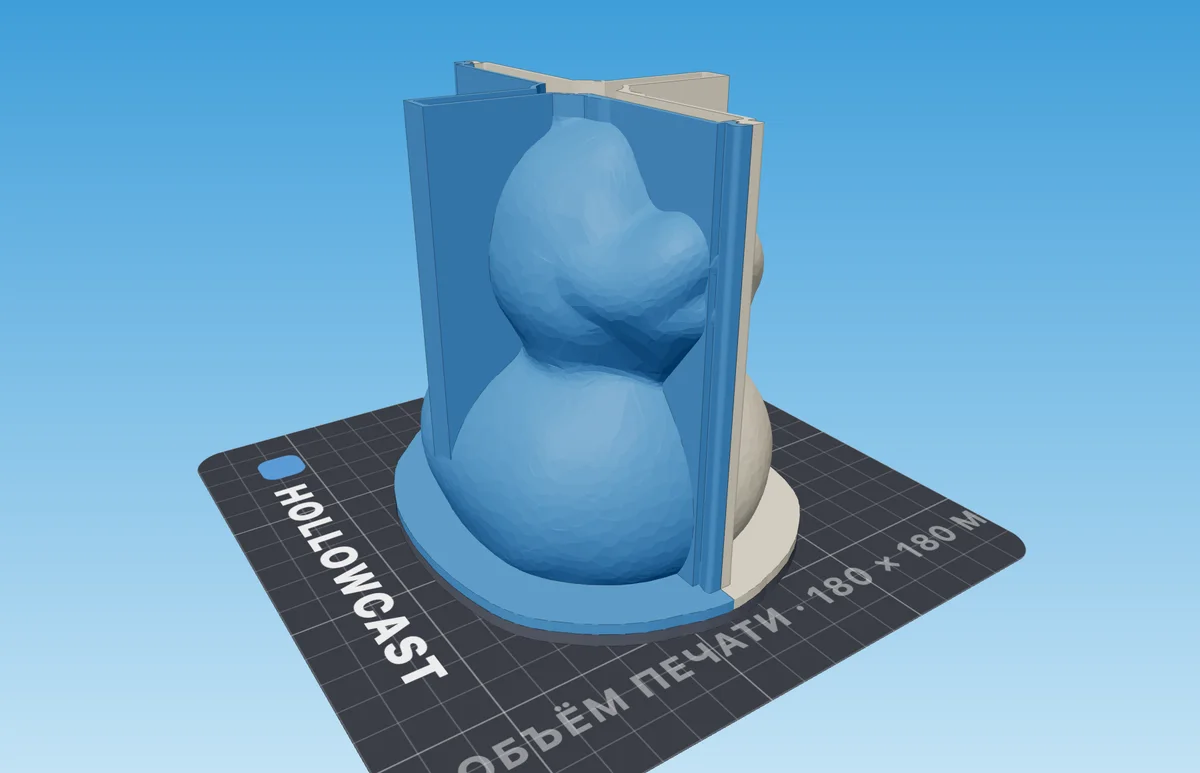
- 1Formwork part
- 2Seam rails — the clamps go here
- 3Base with the model
Mix the silicone
Weigh out what the generator showed. The same number is embossed on the tab of the base, so you can check it right at the scales.
Pour up to the step
Pour a thin stream into one spot — the opening above the top. Stop when the silicone reaches the step inside the rim. Don't pour higher: the rim is what you grab to pull the parts apart.
Take the formwork apart
Once the silicone has cured (see the product instructions, usually a day), remove the clamps and pull the parts apart by the rim.
- 1The silicone mold on the model
Peel the mold off the model
Pull the silicone off the model through the bottom opening. Keep the formwork — it comes in handy for casting.
- 1The opening — where the model's base was
- 2Support fins
To cast a copy:
Put the mold back into the formwork
Flip the mold opening-up and set it into the same parts, without the base. Clamp them. The mold stands on its fins.
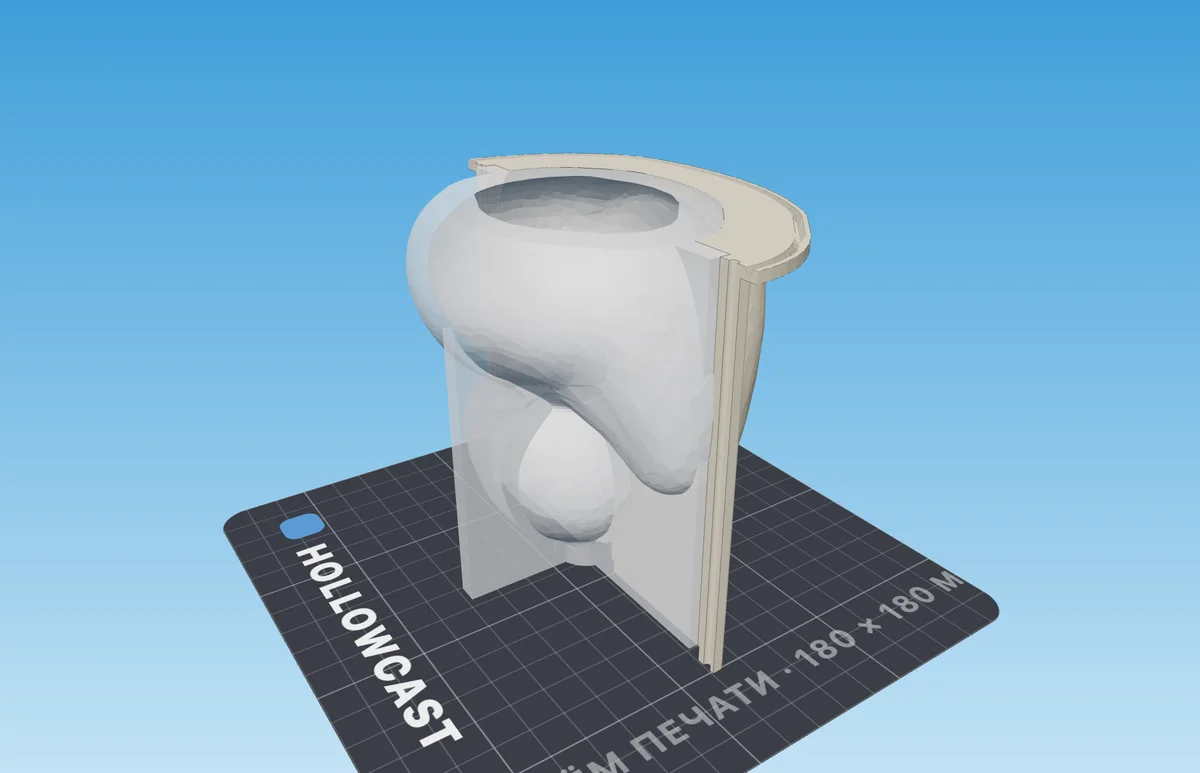
- 1The opening — pour the casting here
- 2The fins stand on the table
Pour level with the edge
Resin, plaster, wax or soap — up to the edge of the opening.
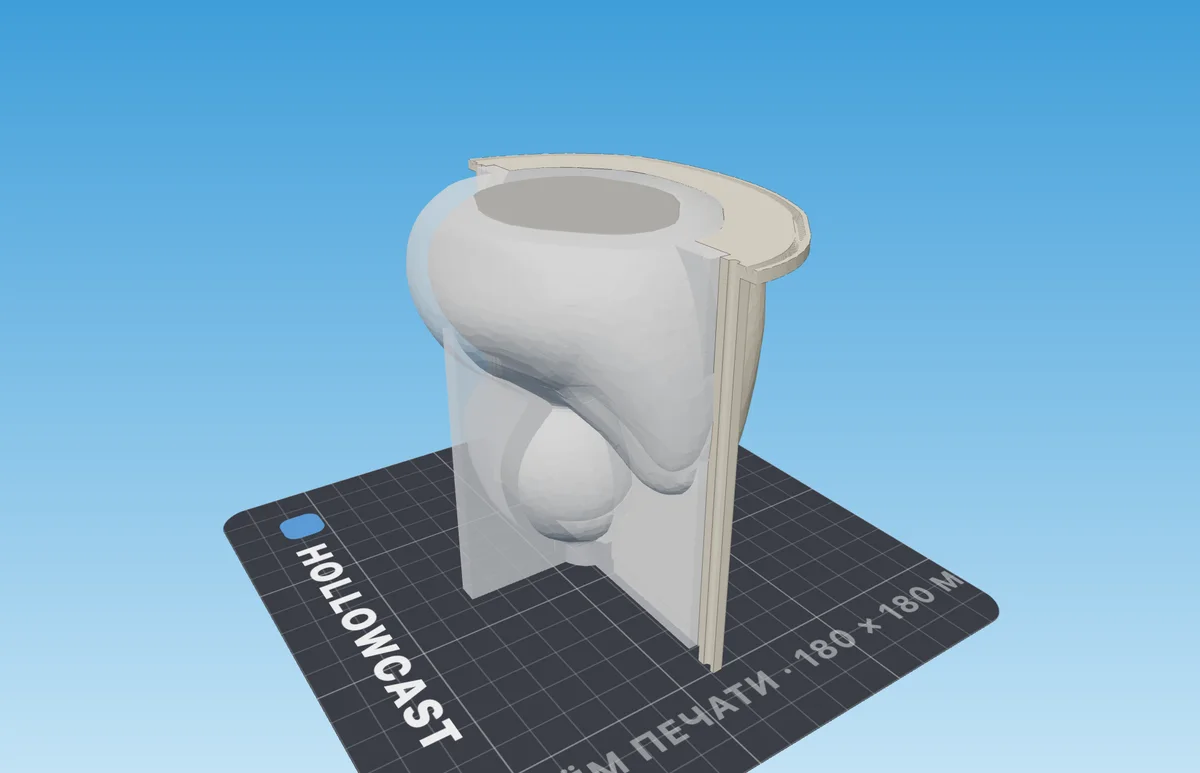
Take out the casting
Once it sets, remove the clamps and the parts, then peel the mold off the casting. The mold is ready for the next pour.