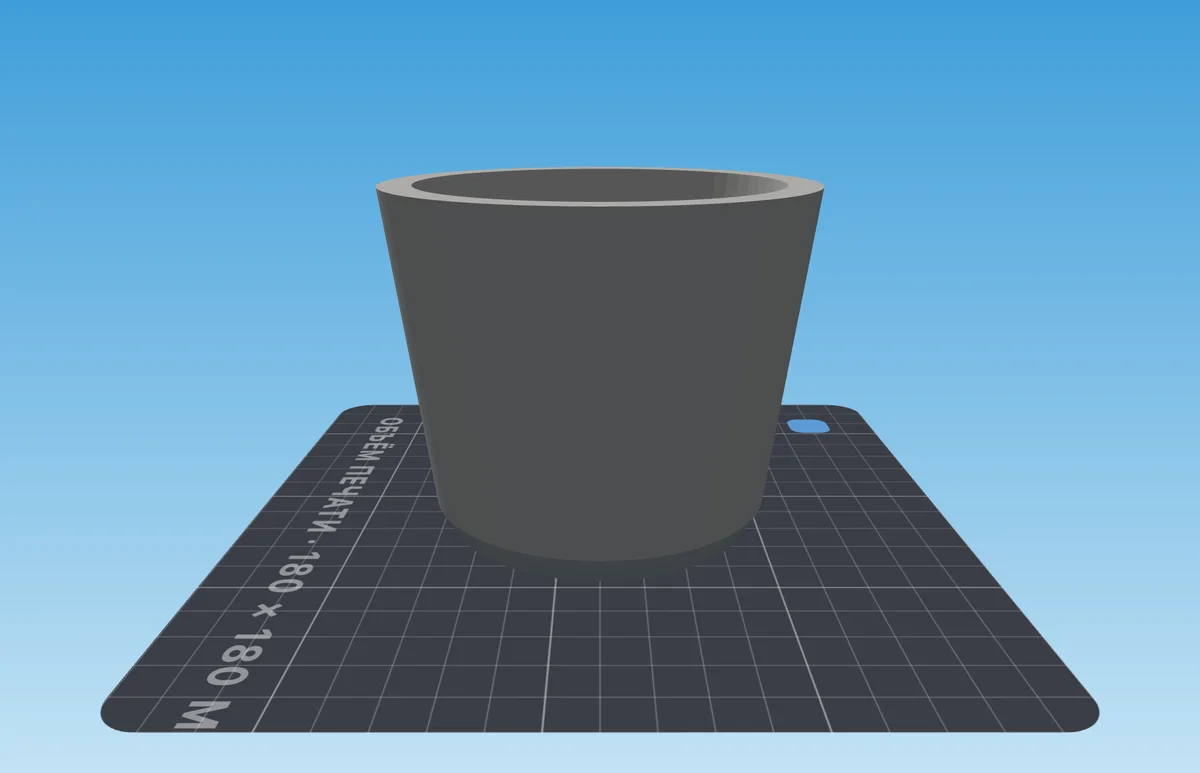
A vase mold is silicone around the model and inside it. A printed core holds the inside, and the mold comes out in one piece with two walls. The vase is cast upside down, so the rim comes out clean without smoothing.
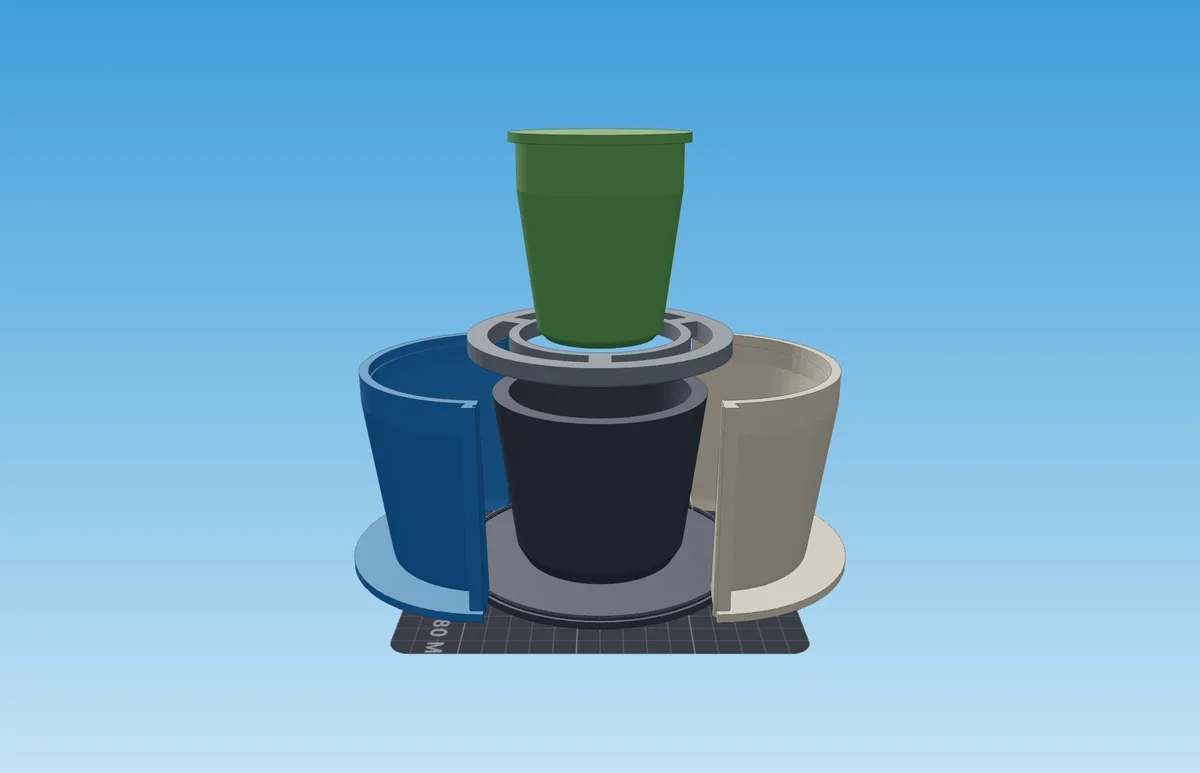
- 1Shell halves
- 2Base with the model
- 3Yoke — holds the core
- 4Core — follows the inside of the vase
At a glance
| What | How |
|---|---|
| Good for | A vase, planter or tumbler — hollow, open at the top |
| What to print | Shell halves, the base with the model, the core, the yoke, clamps |
| What to cast the vase from | Concrete or plaster |
| You will need | Mold-making silicone, release agent, scales, a cup and a stick for mixing |
| Pours | Two: first silicone into the shell, then concrete into the silicone |
Will your model work
| Model | Works? | Why |
|---|---|---|
| A tumbler or planter that narrows toward the bottom | Yes | The core comes out of the inside and the mold comes off downward |
| Straight walls | Yes | A lathe-turned shape with a clean outline is the best case |
| Solid, nothing inside | No | The generator refuses: the core has nowhere to go. Solid things go into a form-fitting mold |
| Wider in the middle | No | The core won't come out of the inside — use a form-fitting mold |
To get the files for printing:
Load the vase
Drop an STL, OBJ or 3MF into the window. To try it out, use the built-in planter — it opens on its own.
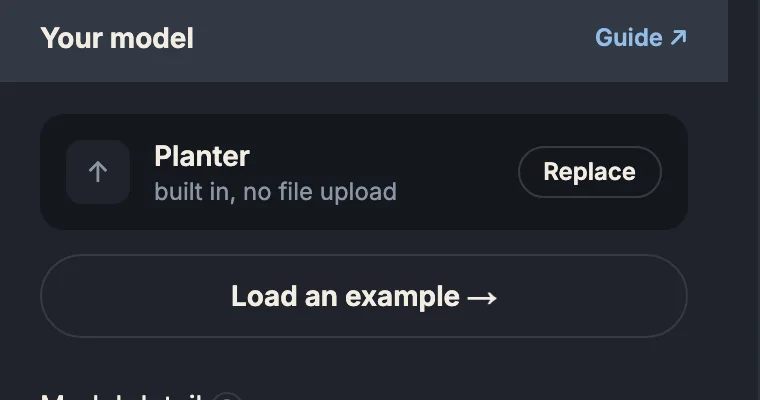
- 1The loaded model — “Replace” to use your own
- 2Other examples
Check how the vase stands
The vase should stand on its bottom on the bed, open side up. If the model lies on its side, rotate it in the Placement menu above the view.
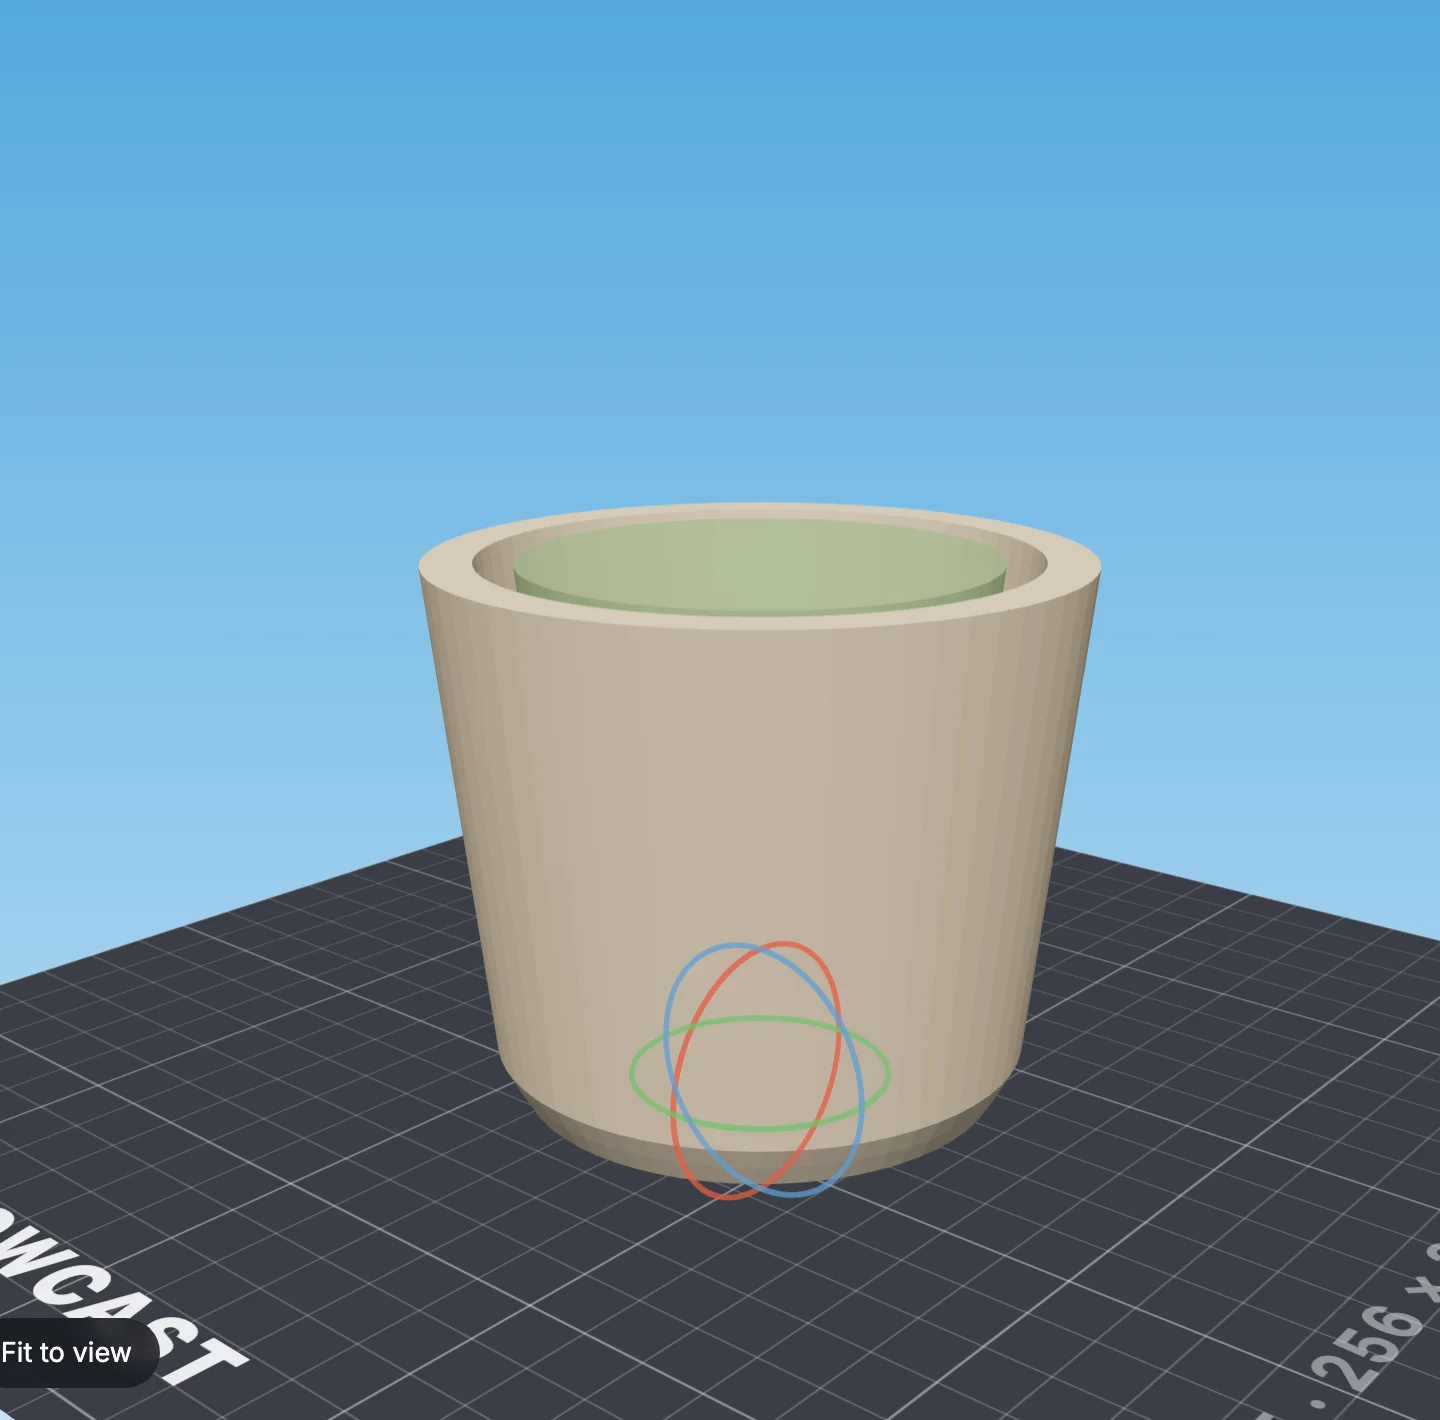
- 1The vase stands bottom-down, open at the top
- 2Rings — rotate the model with the mouse
Click “Generate the set”
The build runs on the server and takes from a few seconds to a minute.

Check the result
Above the view: how much silicone to mix. The second number is the concrete for one vase.

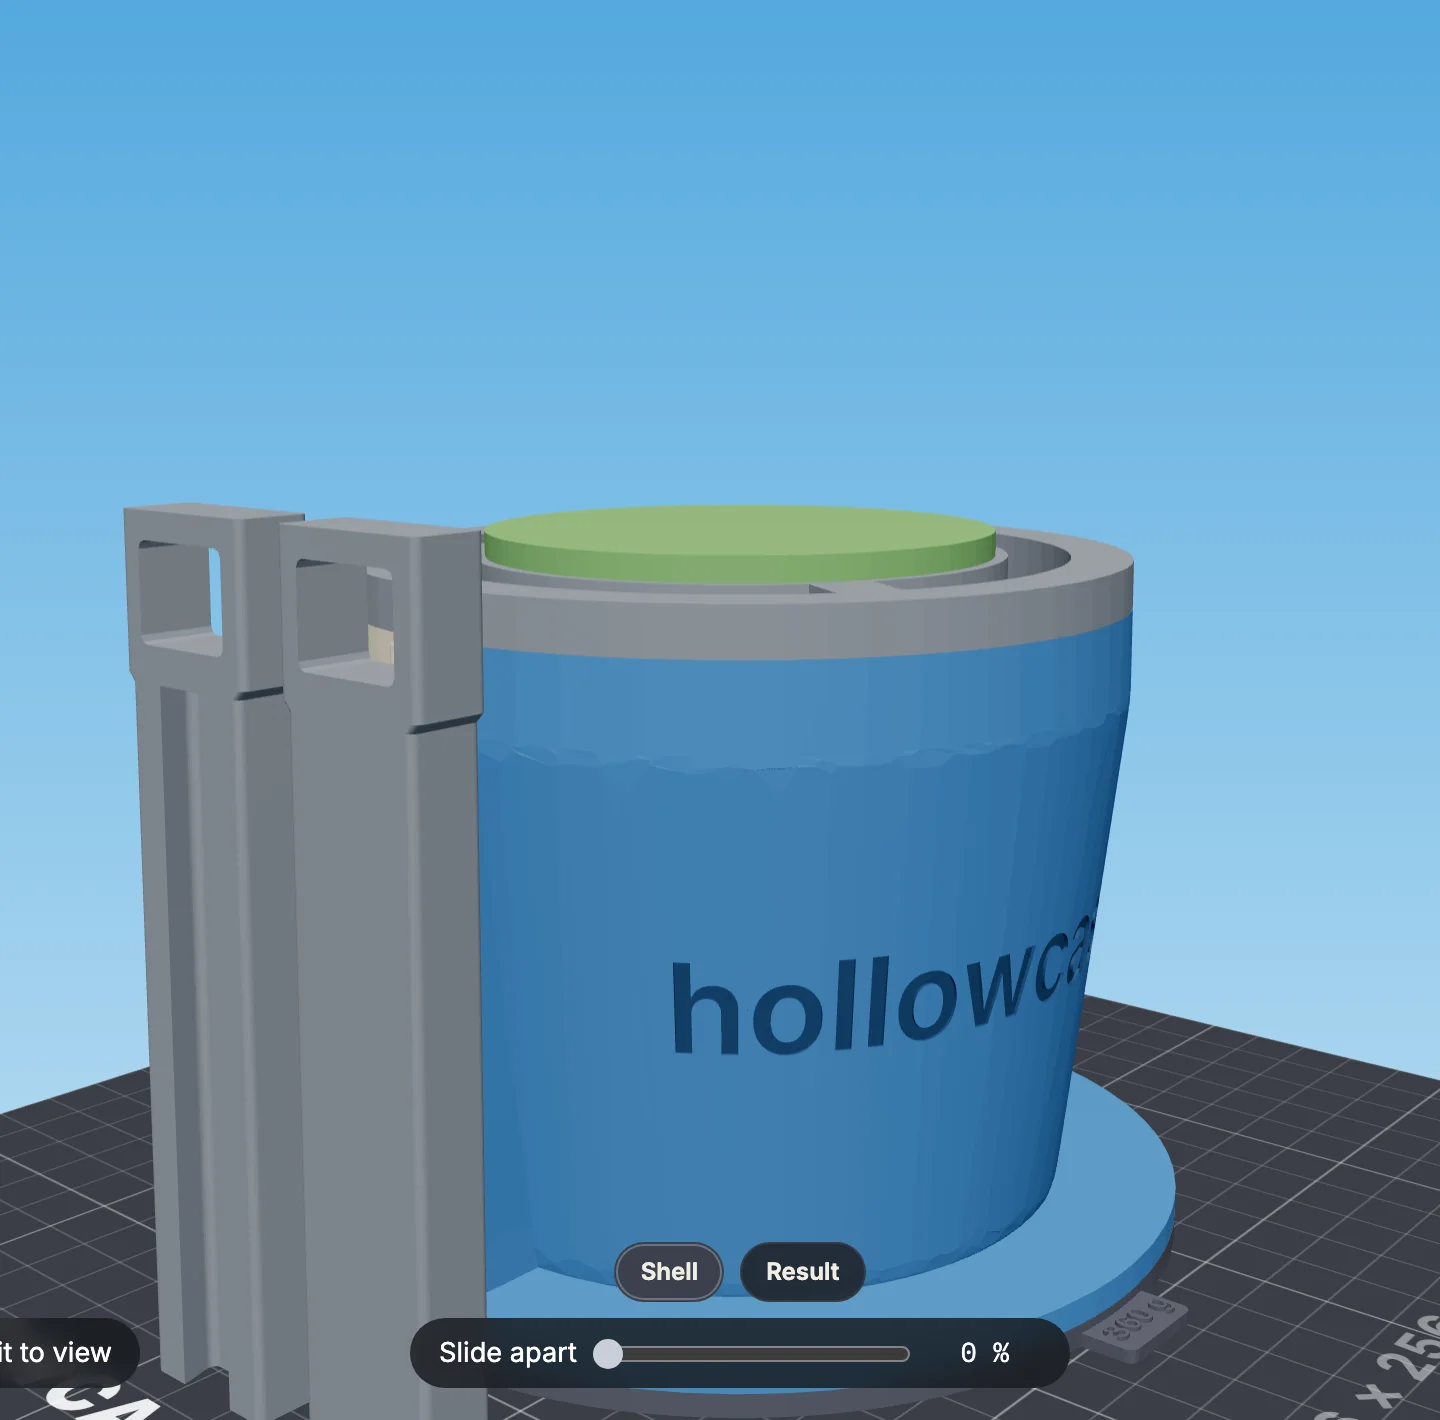
- 1The shell with the yoke and the core
- 2Clamps
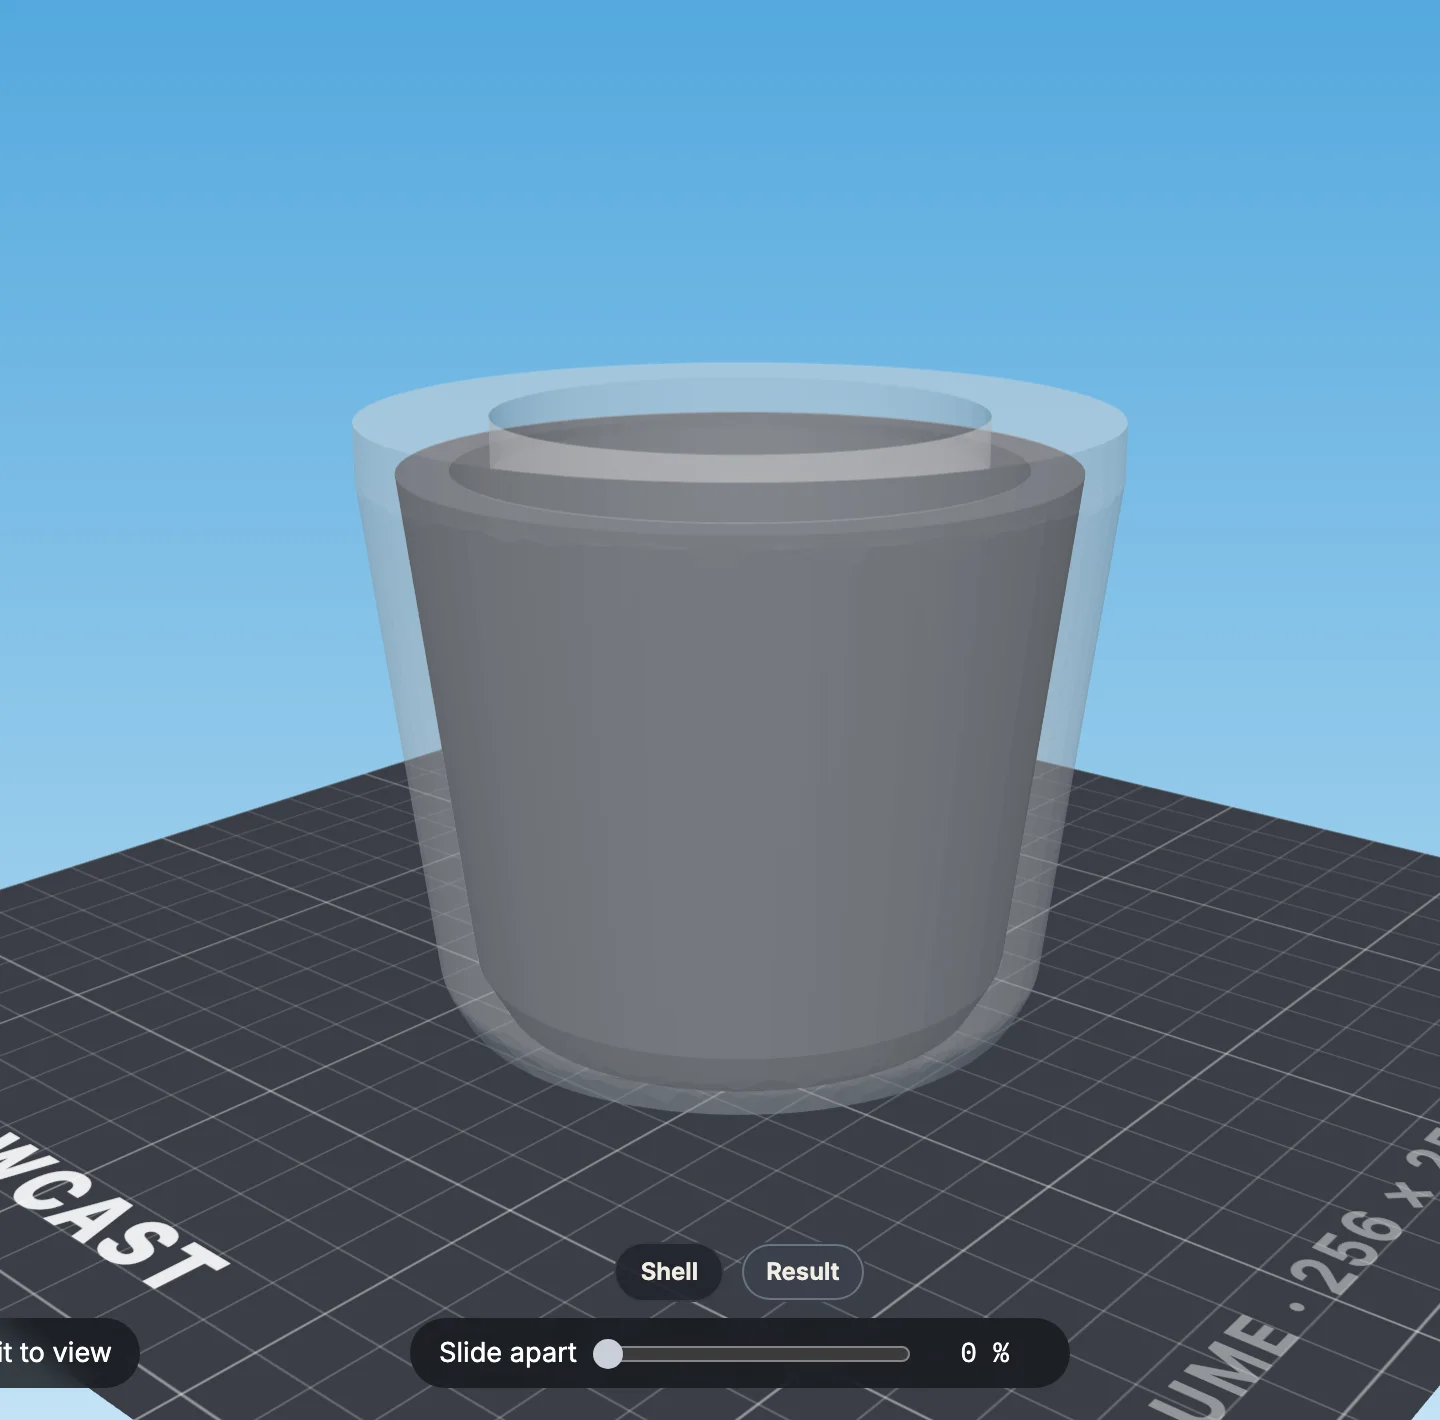
- 3“Result” — the silicone mold you'll get
- 4“Slide apart” — separate the parts
The Result tab shows the mold itself: silicone outside and inside the vase.
Download the files
STL — a file per part. 3MF — one project for the slicer. The archive includes
print-settings.txtwith the pour weight.
Print the parts the way they lie in the file — don't rotate them. The core and the yoke are already flipped in the file, and the clamps lie on their side: that way they print without extra supports.
- 1Shell halves
- 2Base with the model
- 3Yoke
- 4Core
| Part | Orientation | Layer | Perimeters | Supports |
|---|---|---|---|---|
| Base with the model | As in the file | 0.08 mm — its surface becomes the vase | 3 | Tree, strong |
| Core | Flipped, as in the file | 0.20 mm — it imprints on the inside | 3 | Tree, slim, from the build plate only |
| Shell, yoke | As in the file | 0.20 mm | 3 — otherwise silicone seeps through | Tree, slim, from the build plate only |
| Clamps | On their side, as in the file | 0.20 mm | 3 | Tree, slim, from the build plate only |
All slicer settings for the model and the tooling
To cast the silicone mold:
Assemble the shell
Coat the model, the core and the inner walls with release agent. Set the shell halves around the base and push the clamps onto the rails all the way.
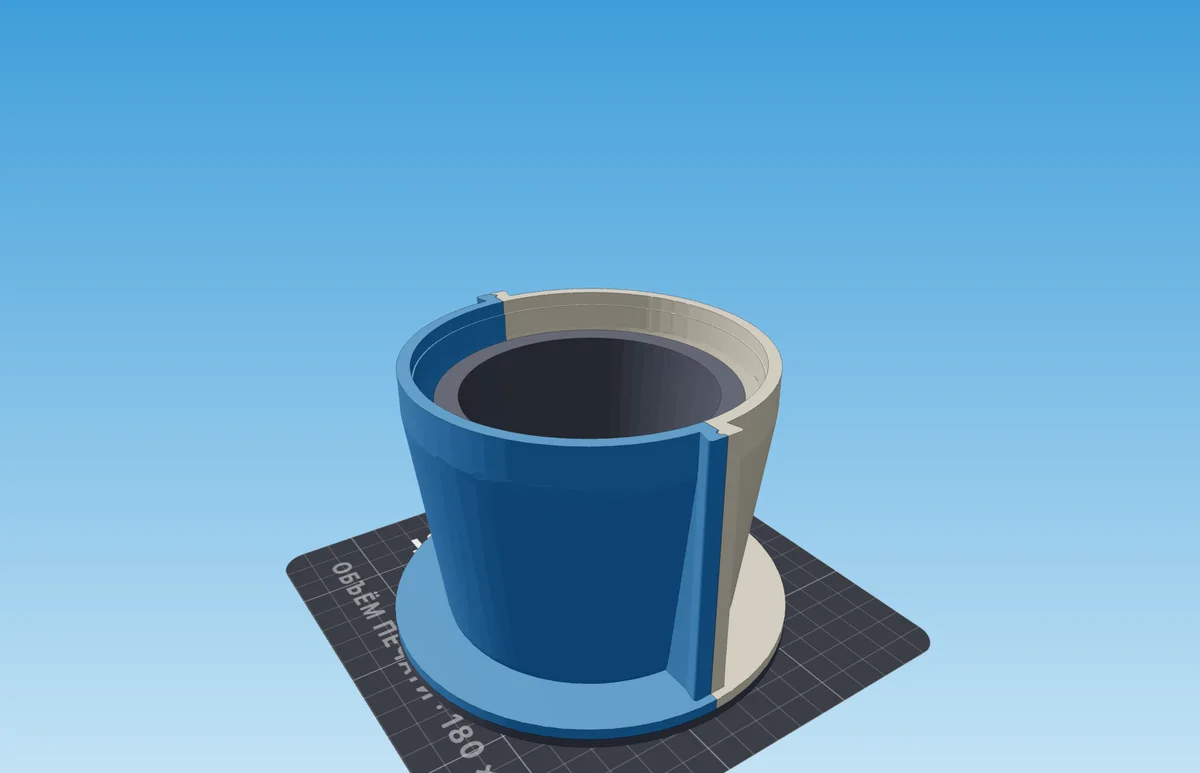
Pour the silicone
Weigh out what the generator showed and pour a thin stream into one spot — between the shell wall and the vase. The silicone flows inside too.
Insert the core
Put the yoke on the top of the shell and lower the core through it all the way. The silicone rises to the step in the rim. Let it cure — see the product instructions, usually a day.
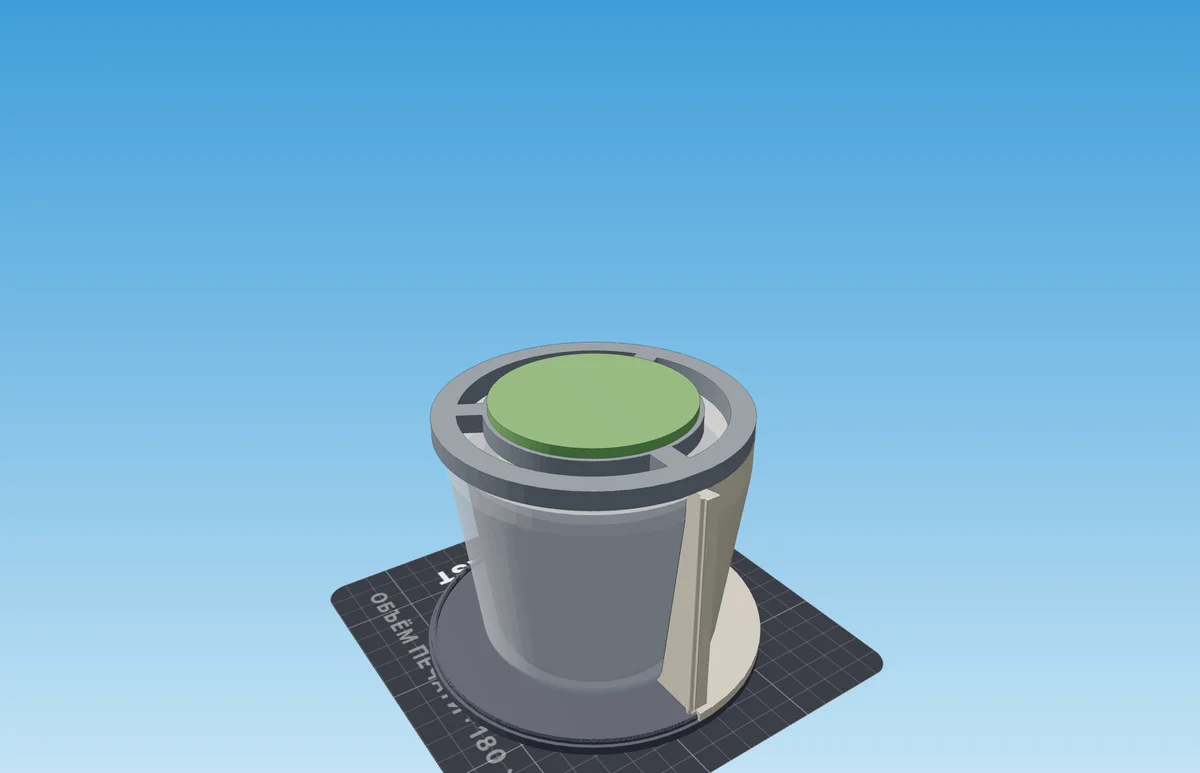
- 1Yoke — on top of the shell
- 2Core — all the way down
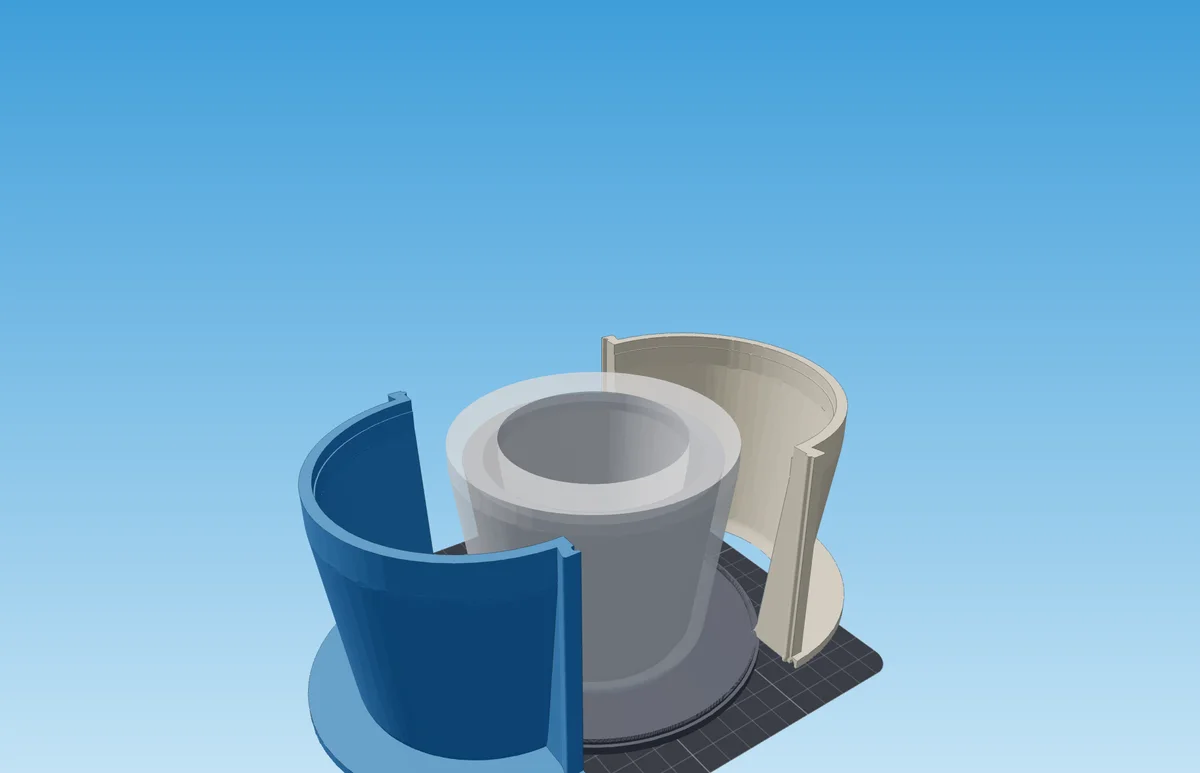
Take the shell apart
Pull the core out upward, remove the clamps and pull the shell halves apart.
Take the mold off the model
Peel the outer layer off like a sock, and turn the inner layer out of the inside.
To cast the vase:
Assemble the mold upside down
Stand the core on its collar on the table and put the yoke on it. Slide the mold onto the core, bridge down, put the shell around it and clamp it.
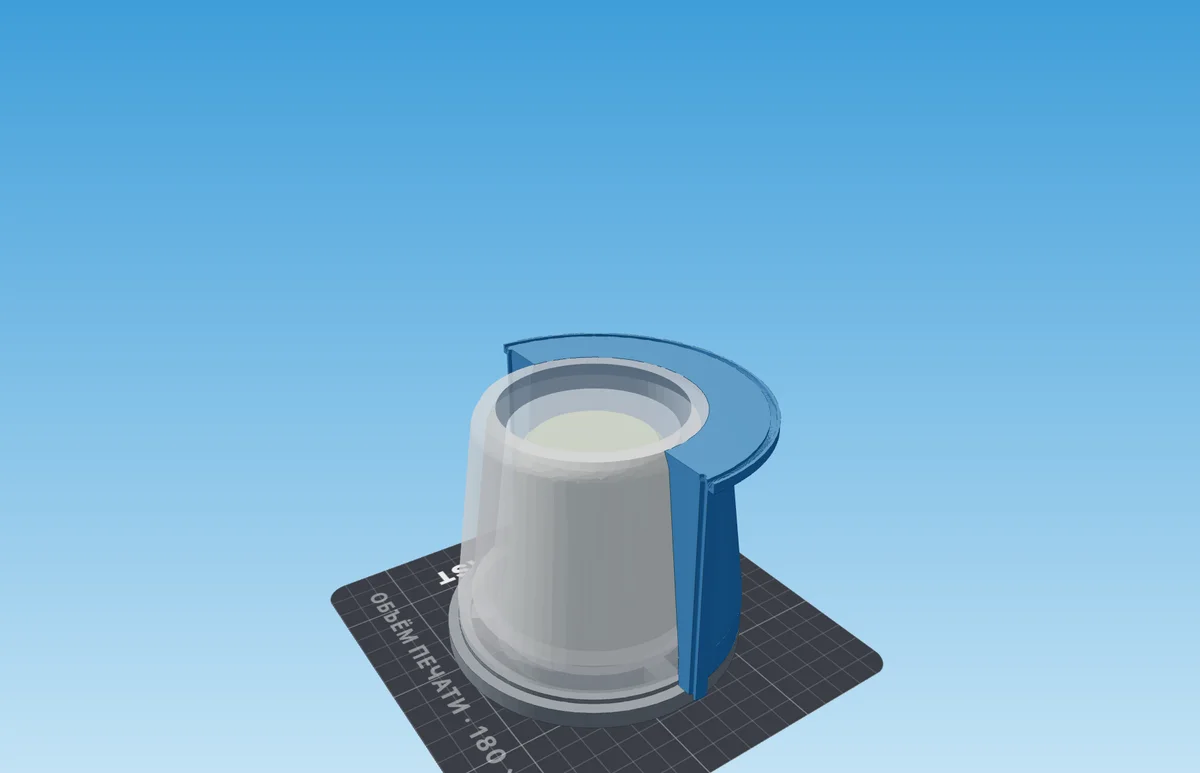
- 1The open bottom of the vase — pour the concrete here
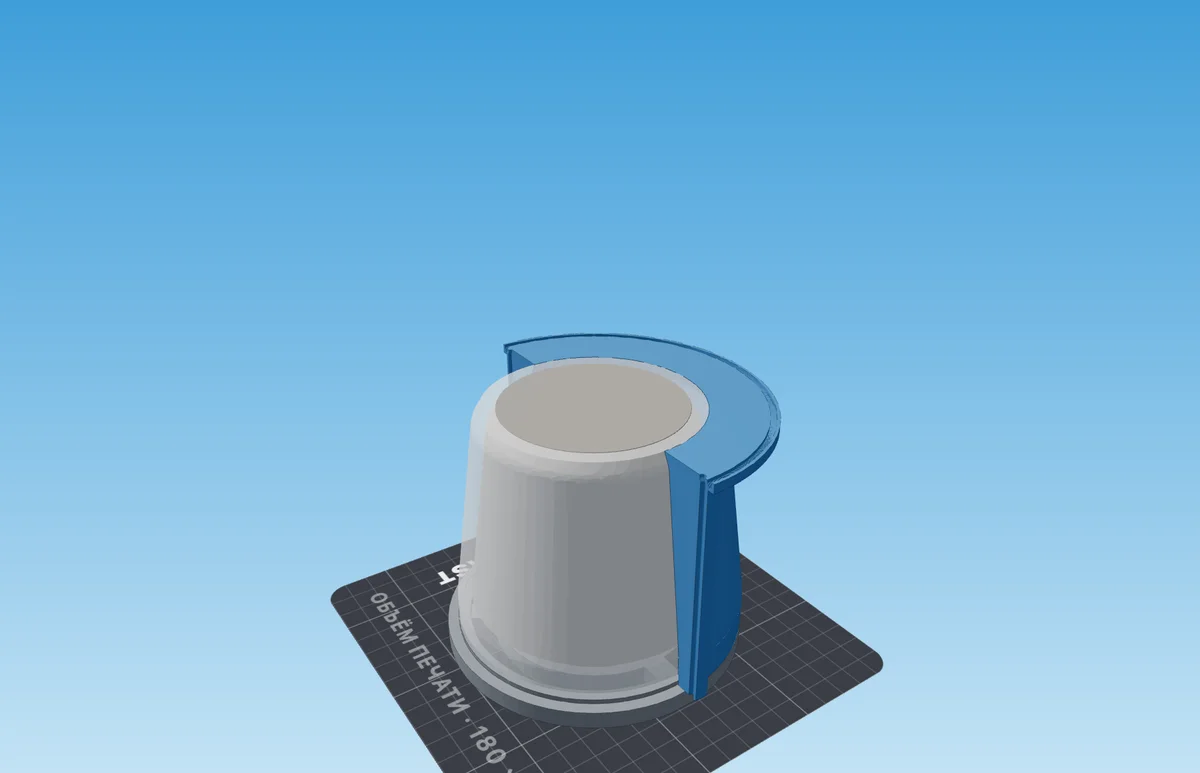
Pour concrete level with the edge
Pour through the open bottom of the vase up to the edge of the silicone and smooth it off.
Demold
Once the concrete sets: remove the shell, pull out the core, turn the inner silicone layer out of the vase and peel off the outer one.