A two-part mold is two silicone halves, each cast in its own printed formwork against a flat bottom. The seam comes out cast and closes the same way every time — this is the mold for a production run. For pouring, the halves go into a printed casing held together with rings.
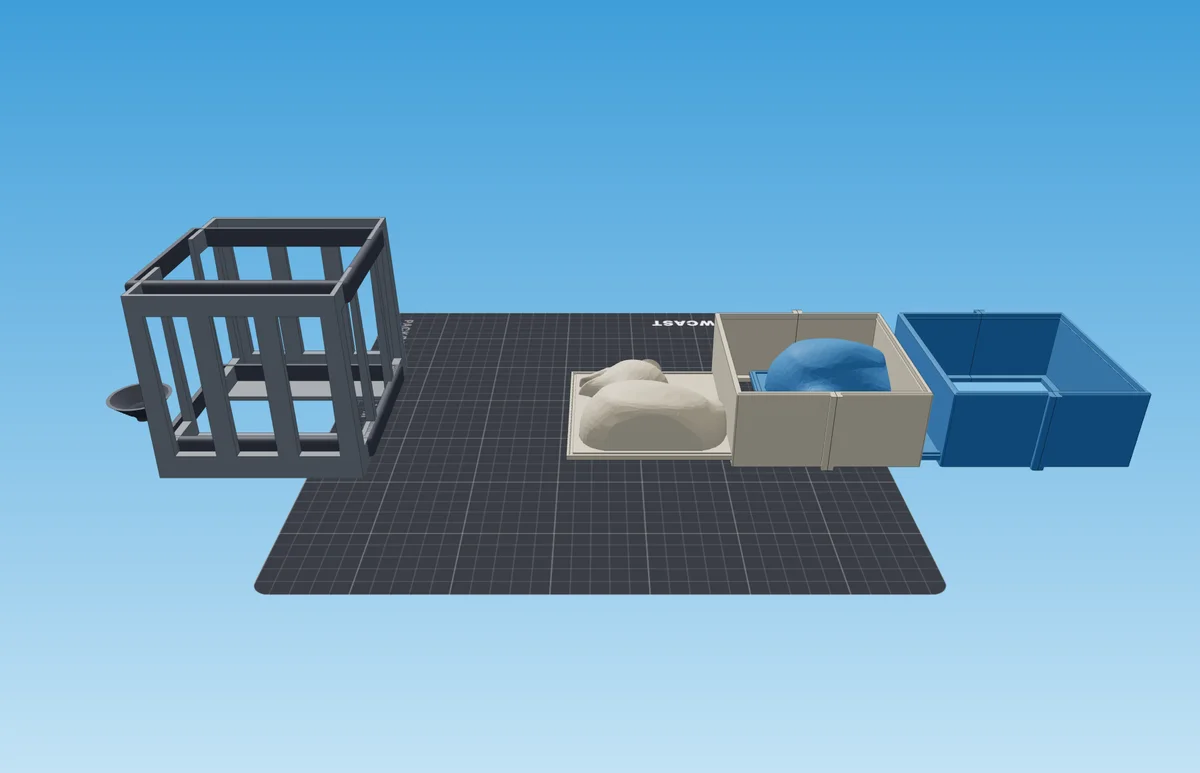
- 1Casing and rings
- 2Plate with half of the model
- 3Formwork walls
At a glance
| What | How |
|---|---|
| Good for | A run of one model: candles, figurines, soap |
| What to print | Two formworks (a plate with half of the model, walls, clamps), the casing and rings |
| Silicone layer | 6 mm by default |
| You will need | Mold-making silicone, release agent, scales, a cup and a stick for mixing |
| Pours | Two: first silicone into both formworks, then the casting into the assembled mold |
Will your model work
| Model | Works? | Why |
|---|---|---|
| A column, a candle | Yes | Splits with one plane along its height |
| A figurine | Yes | The seam runs along the widest part |
| A hook or a bump across the seam | No | The bump locks into a half — you need one parting plane |
| One or two castings | You can, but | The silicone mold box is simpler: one pour instead of two |
To get the files for printing:
Load the model
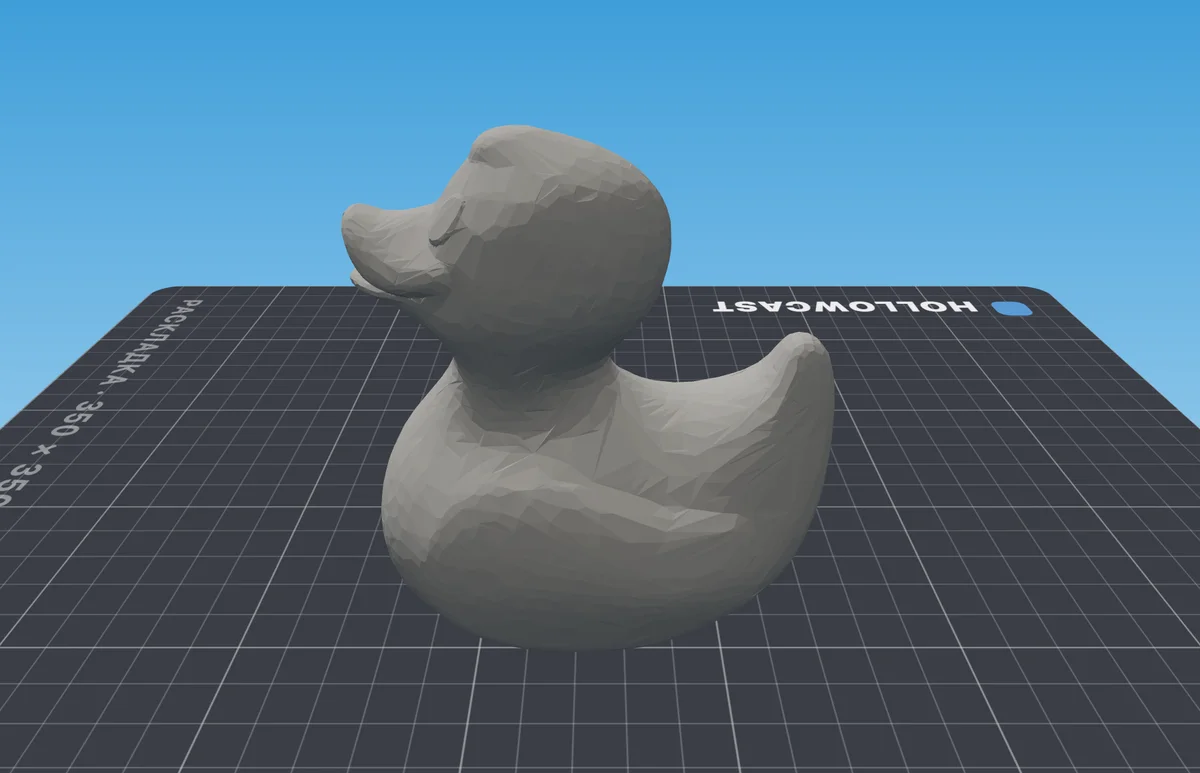
Drop an STL, OBJ or 3MF into the window. To try it out, load the example — a duck.
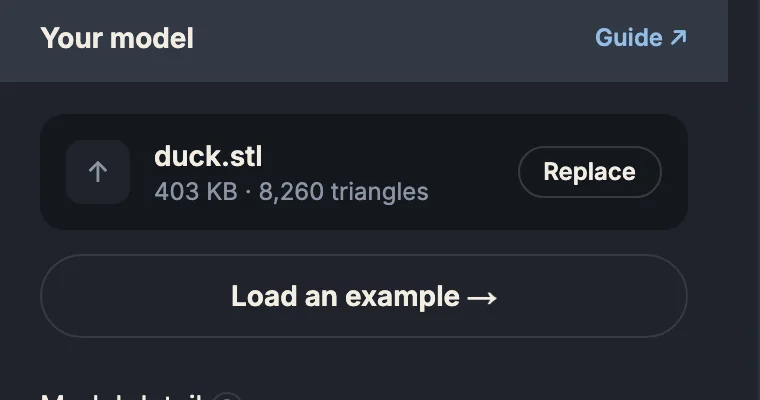
- 1The loaded file — “Replace” to pick another
- 2An example, if you don't have a model yet
Place the seam
The transparent plane in the view is the seam between the halves. It should run along the widest part of the model and stay off its face. Rotate the model, not the plane: with the rings in the view or in the Placement menu. The funnel on top is the pour channel: the top of the model becomes the mouth.
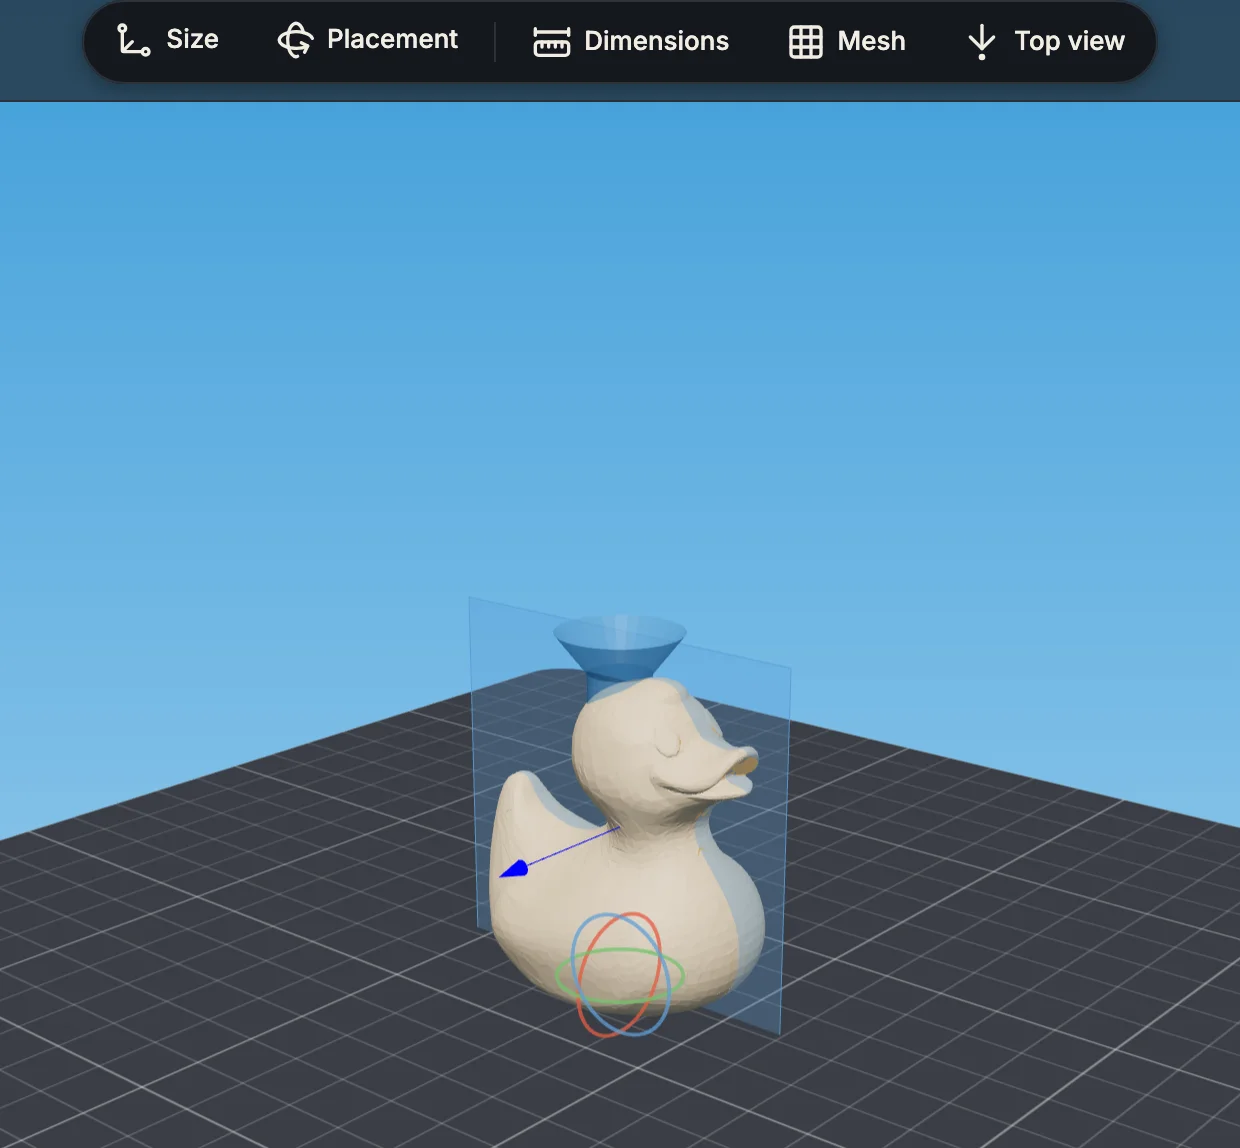
- 1“Placement” — rotate the model
- 2Seam plane
- 3Funnel — the pour channel
Click “Generate the set”
The build runs on the server and takes from a few seconds to a minute.

Check the result
Above the view: how much silicone to mix for both halves. The second number is the amount for one casting in the material you picked.

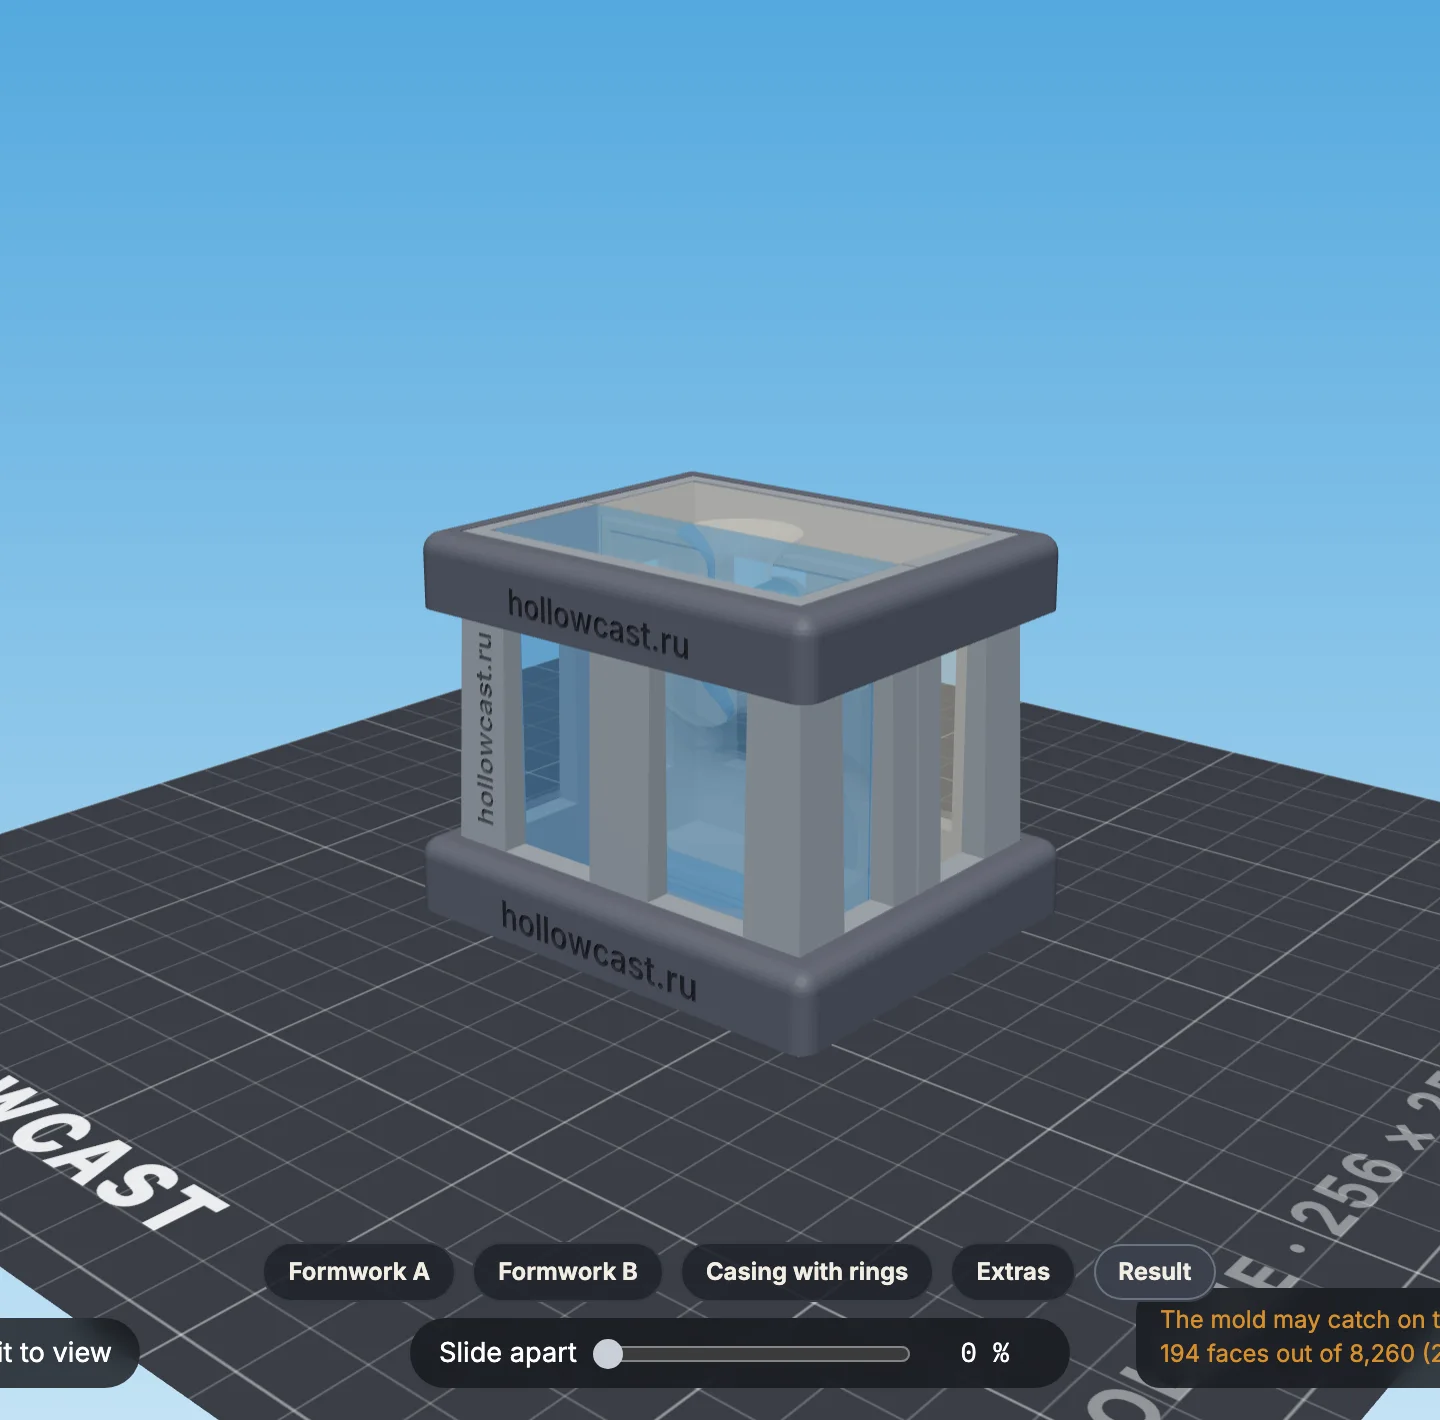
The tabs under the view show the parts by group: each formwork, the casing with rings, the add-ons.
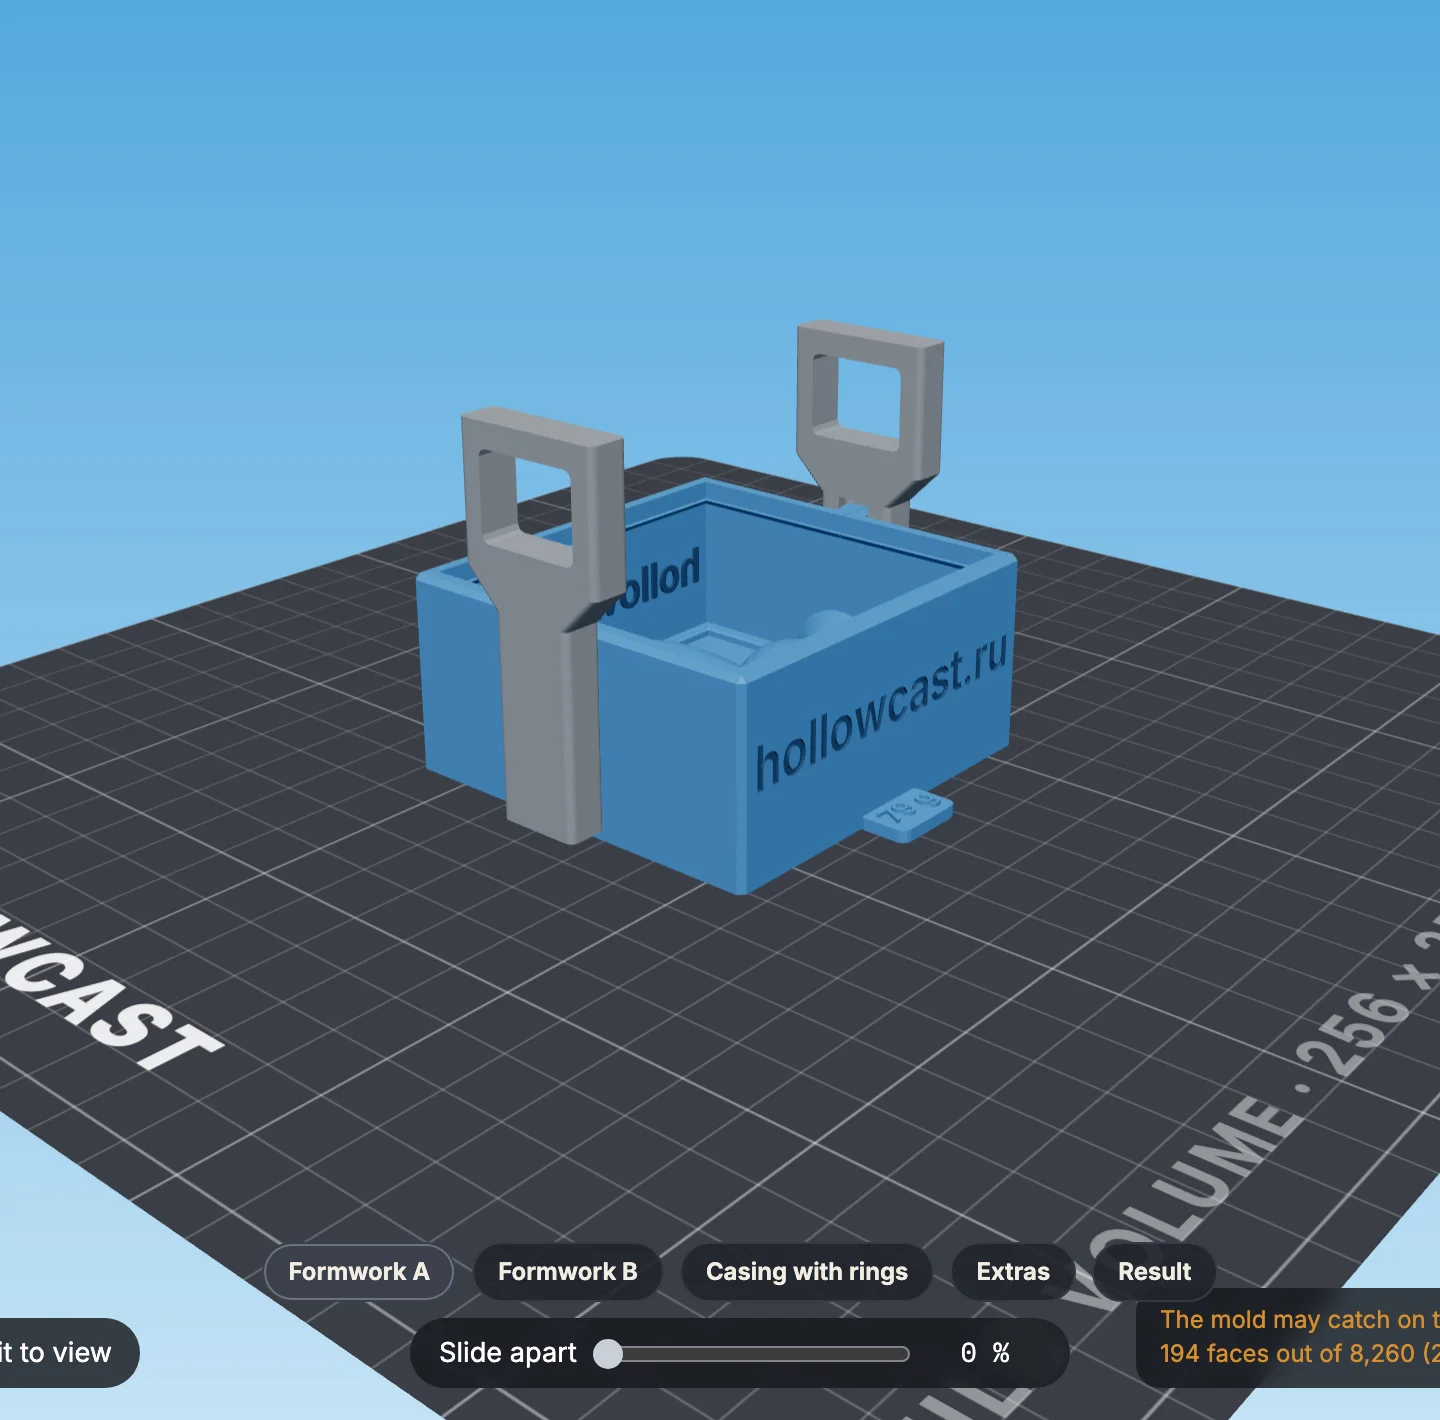
- 1Formwork: plate, walls, clamps
- 2“Casing with rings”
- 3“Result” — the assembled mold
- 4“Slide apart” — separate the parts
The Result tab shows the silicone halves in the casing, the way you set them up for casting.
Download the files
STL — a file per part. 3MF — one project for the slicer. The archive includes
print-settings.txtwith the pour weight.
Print the parts the way they lie in the file — don't rotate them. Turn supports on — tree supports.
- 1Casing and rings
- 2Plate with half of the model
- 3Walls
| Part | Orientation | Layer | Perimeters | Supports |
|---|---|---|---|---|
| Plates with model halves | As in the file | 0.08 mm — every casting copies their surface | 3 | Tree, strong |
| Walls | As in the file | 0.20 mm | 3 — otherwise silicone seeps through | Tree, slim, from the build plate only |
| Casing, rings | As in the file | 0.20 mm | 3 | Tree, slim, from the build plate only |
| Clamps | On their back, as in the file | 0.20 mm | 3 | Tree, slim, from the build plate only |
All slicer settings for the model and the tooling
To cast the silicone mold:
Assemble both formworks
Coat the plates and the inner walls with release agent. Put the walls together, set the plate on the ledge inside and clamp them. Do the same for both formworks.
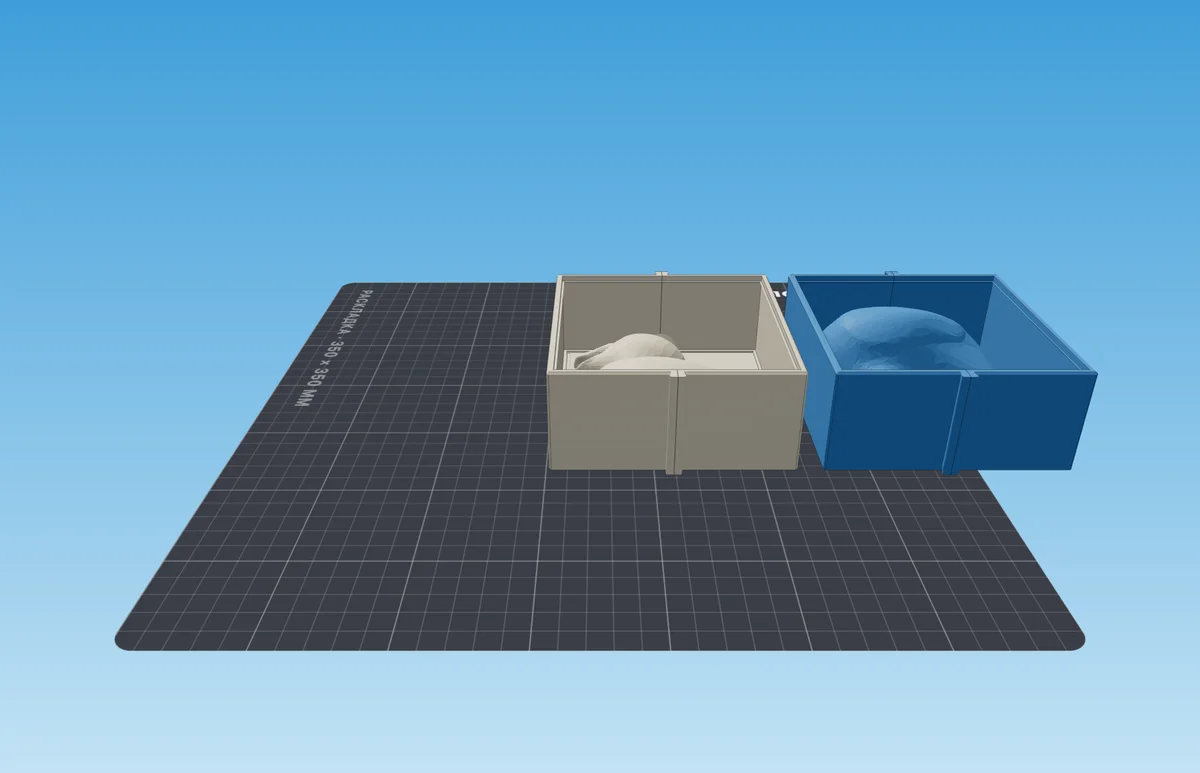
- 1Formwork A
- 2Formwork B
Pour both up to the notch
Weigh out what the generator showed and pour a thin stream into a corner, not onto the model. Stop at the notch on the wall — that's the silicone level. Both formworks from one batch.
Take the formworks apart
Once the silicone has cured (see the product instructions, usually a day), pull the clamps up by their tabs and pull the walls apart. Then separate the silicone halves from the plates.
To cast a copy:
Put the halves into the casing
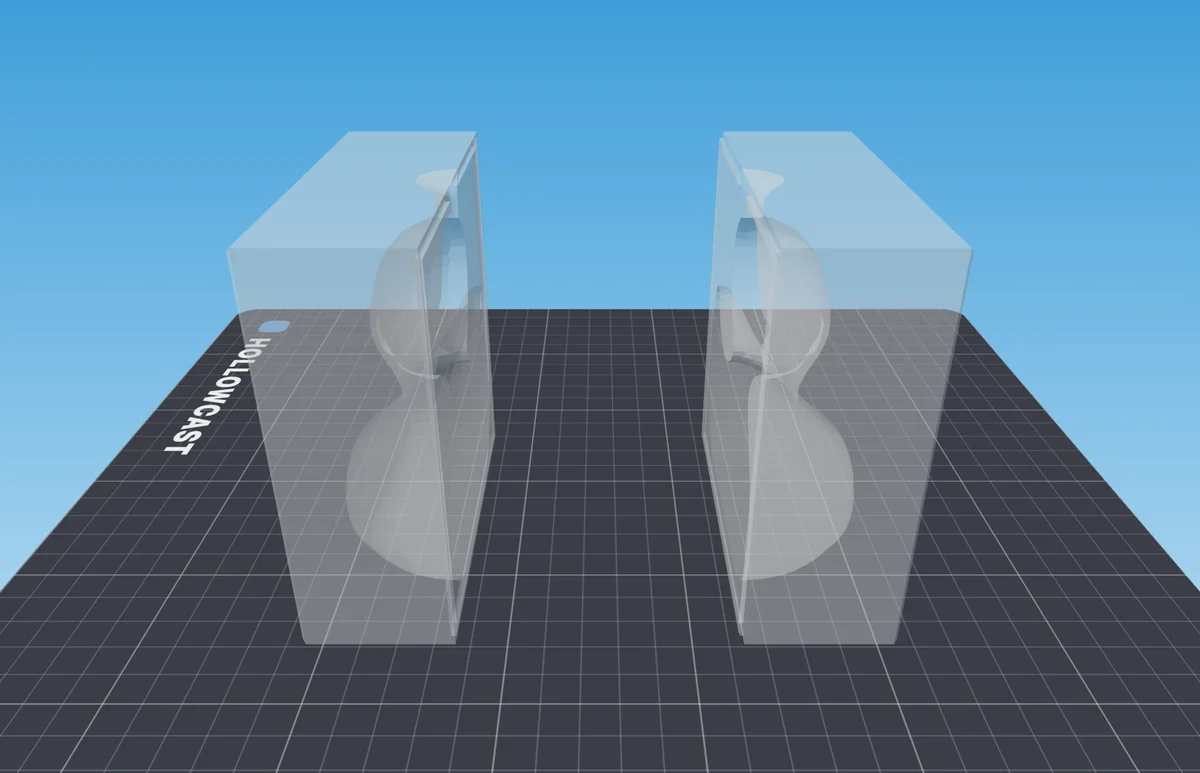
Line the halves up by the lock. If you're casting a candle, lay the wick in its groove. Set the mold into the casing.
Tighten with the rings
Slide the rings on from the top down, the bottom one first.
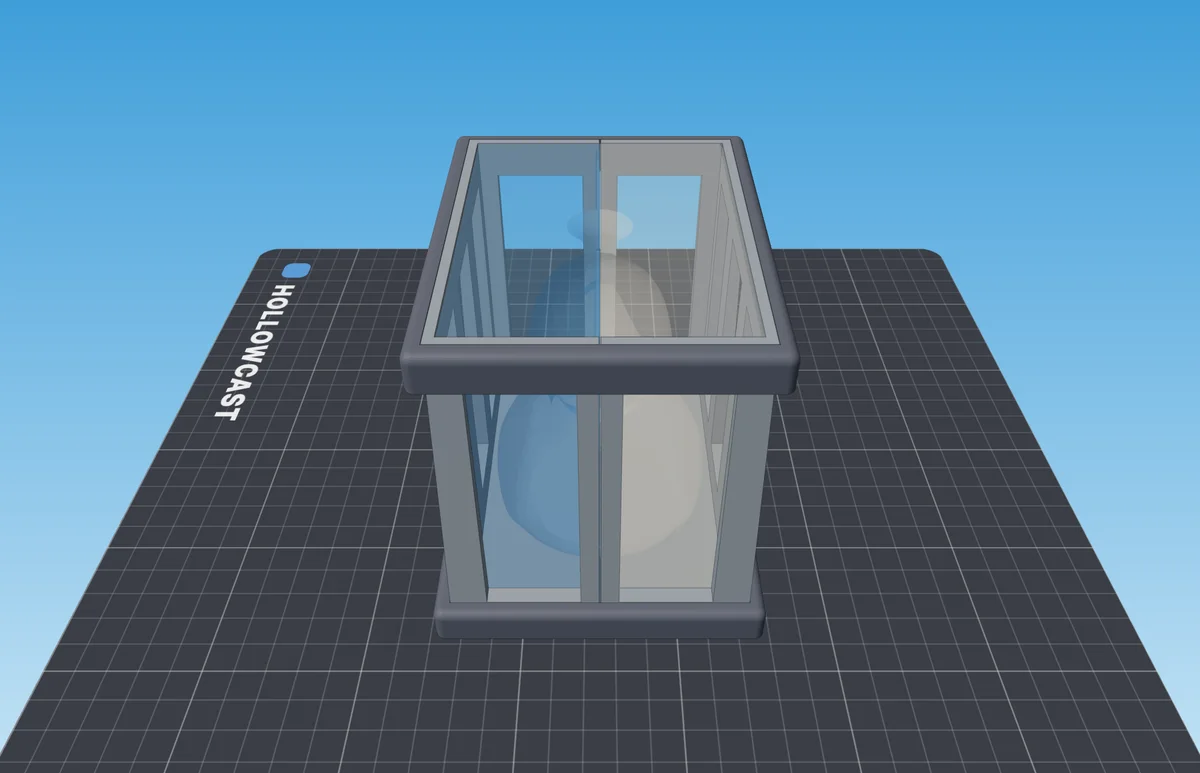
Pour through the channel
Pour into the mouth on top until the casting reaches the top of the channel. For a candle, put the wick holder on the mouth.
Demold
Once it sets: remove the rings and the casing, then pull the halves apart. The mold is ready for the next pour.